Installing a Tab 5 into the SRoC Controller
Overview
Covers physically mounting a Tab 5 tablet into the SRoC controller shell — removing the front bezel, seating the tablet on the housing's dock connector, and closing the bezel back up. This is a hardware assembly procedure, not a software configuration — use it when swapping a tablet into a controller for the first time or replacing one already in service.
Prerequisites
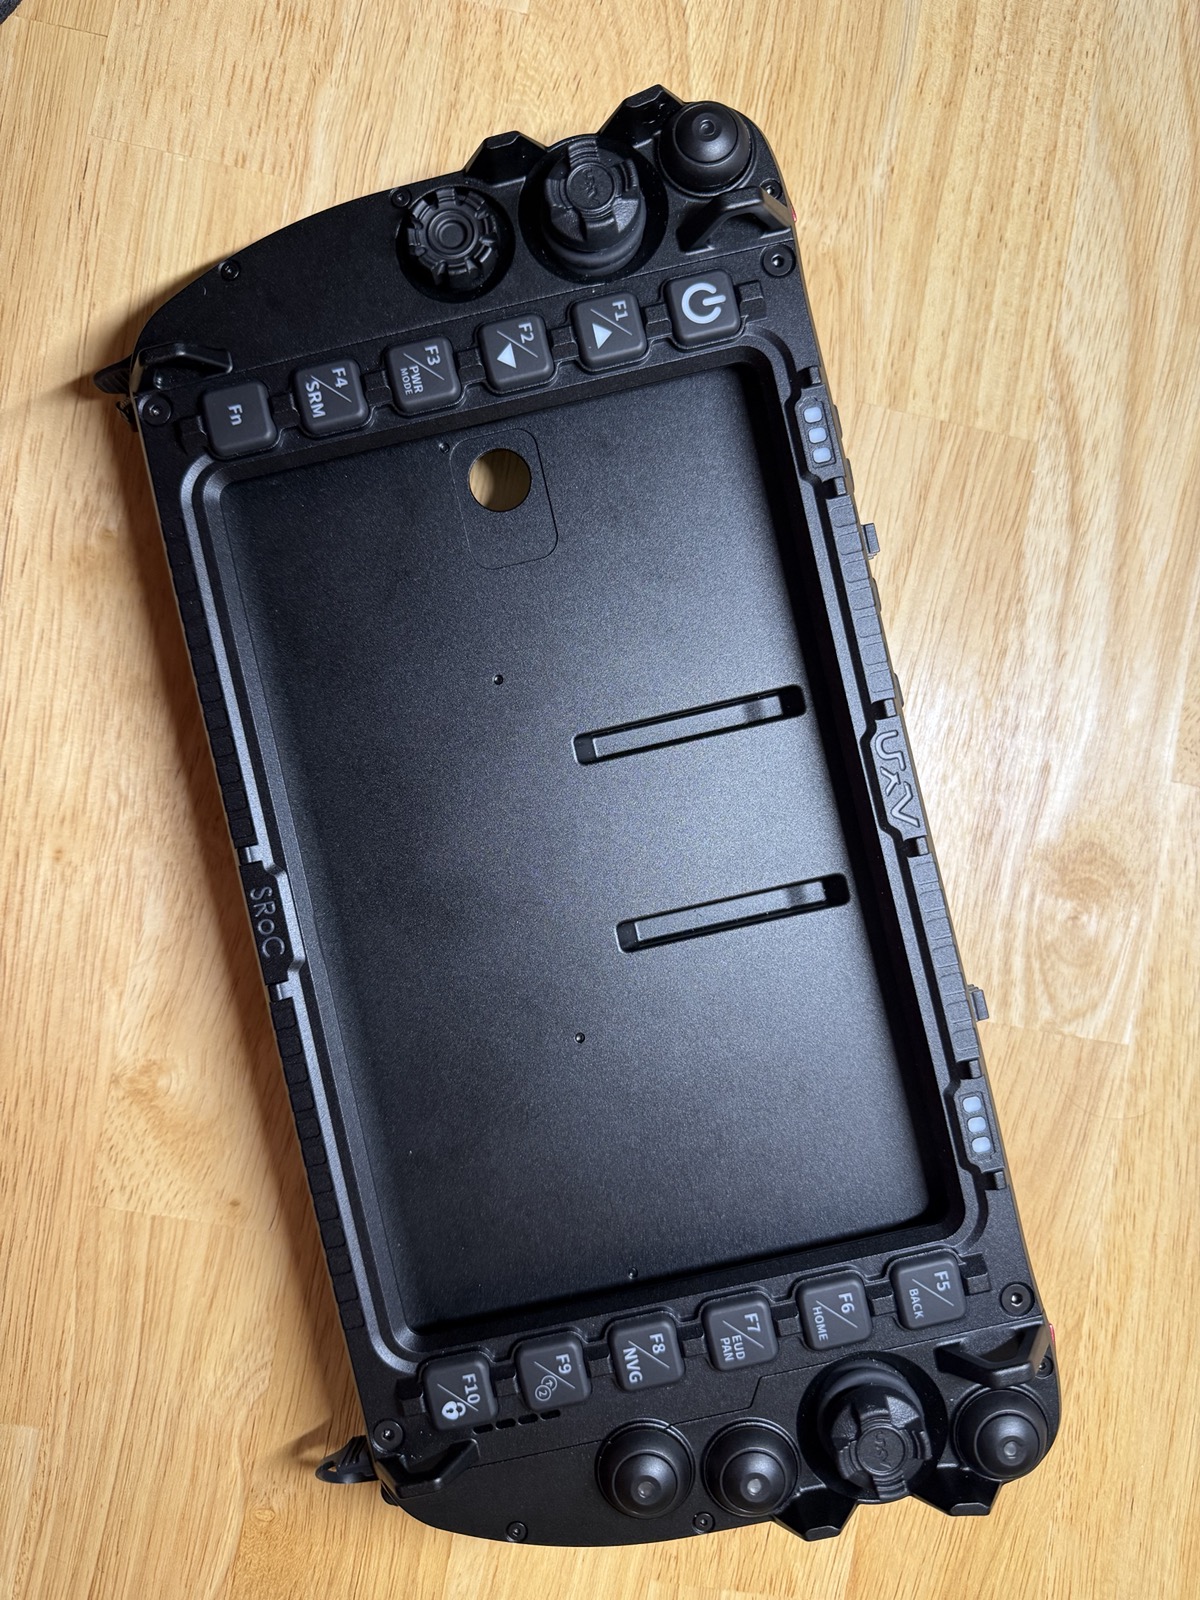
- The SRoC controller housing (rear shell with the F1–F10 function buttons, control dials, and joysticks) and its front bezel/frame.
- A Tab 5 tablet.
- A small screwdriver matching the four bezel screws.
Steps
Step 1: Open the housing
- With the bezel removed, the rear shell exposes the tablet cavity. Two spring-loaded retention tabs run down the middle of the cavity — these hold the tablet in place once it's seated, so leave them alone for now.
Step 2: Remove the bezel and screws
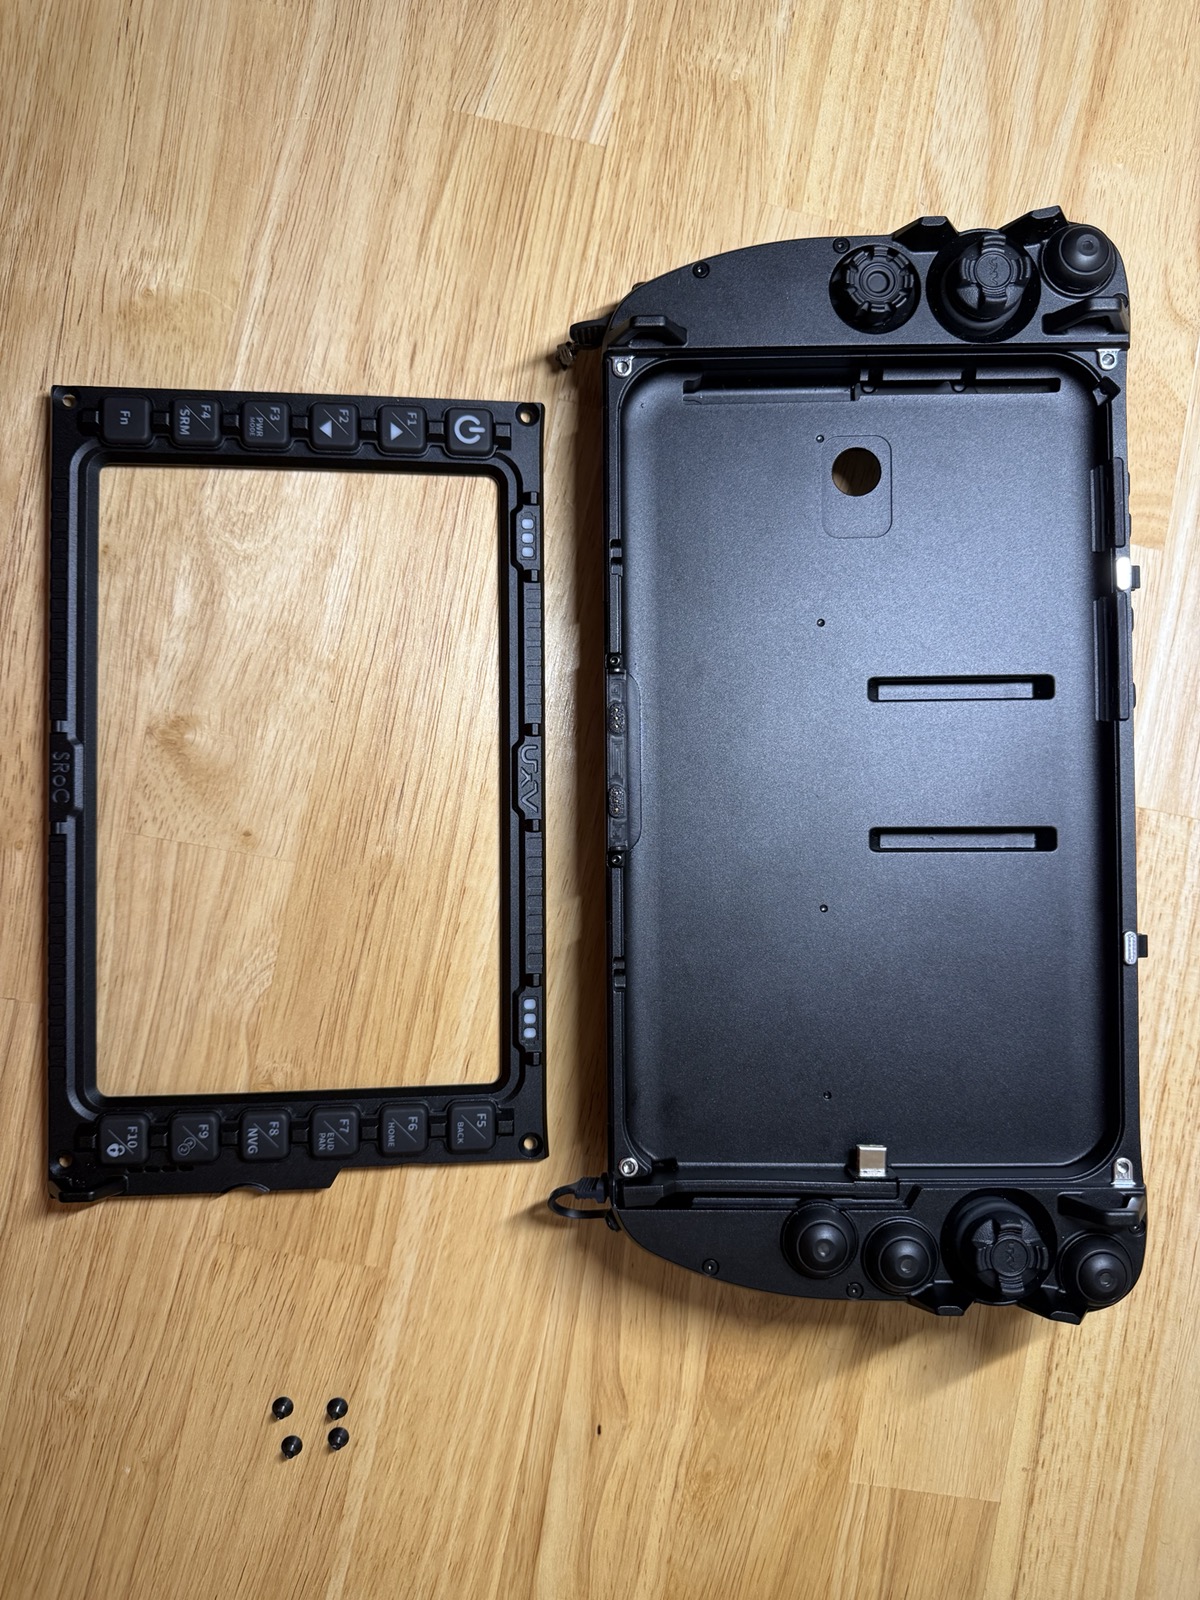
- Separate the front bezel from the rear shell completely and set it aside. Remove the four small screws that secure the bezel and set them aside somewhere they won't get lost — you'll need all four again in Step 5.
Step 3: Locate the dock connector
- At the bottom of the cavity, near the joysticks, is the housing's USB-C dock connector on a spring-loaded flex pin. This is what powers and connects the tablet once it's seated — take note of its position and orientation before placing the tablet.

Step 4: Seat the tablet
- Place the Tab 5 into the cavity, aligning it so its charging port mates with the housing's dock connector, and press it down until it sits flush in the shell.

Step 5: Reattach the bezel
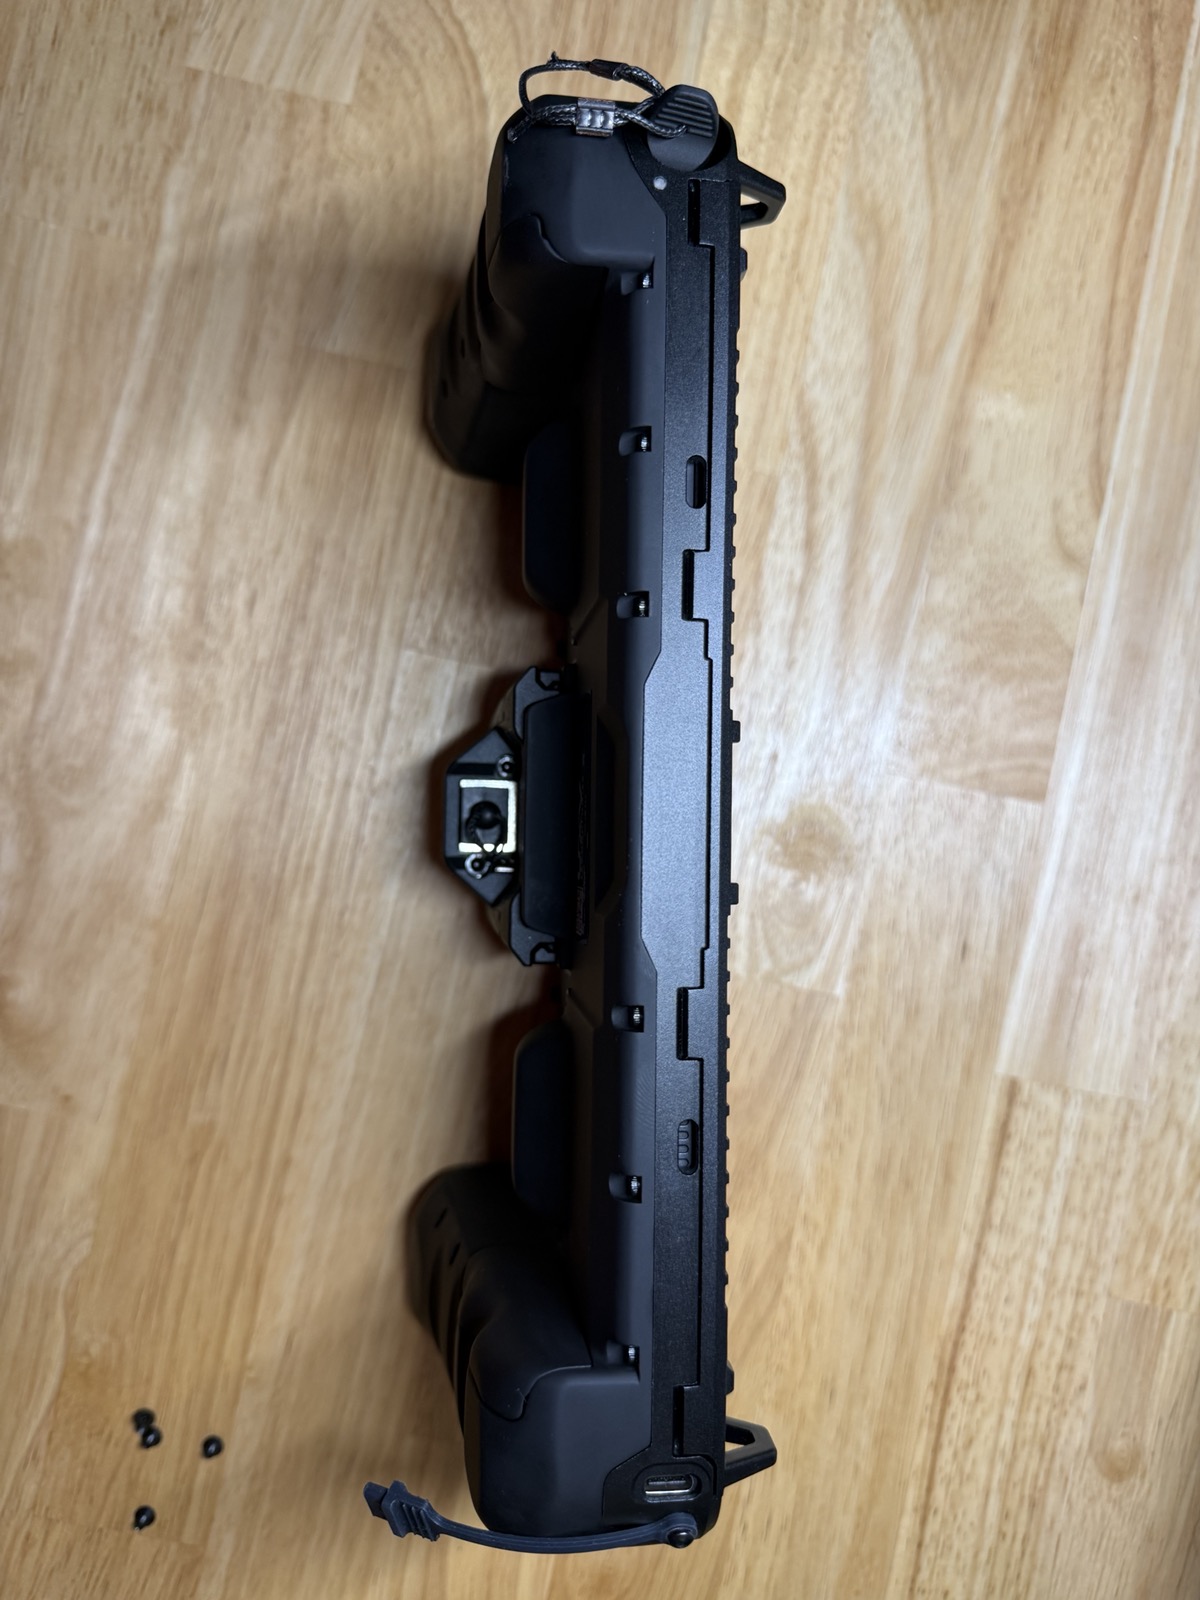
- Fit the front bezel back over the tablet and housing, and reinstall the four screws removed in Step 2.
Step 6: Confirm the assembly
- With the bezel reattached, confirm the tablet sits flush and all buttons around the bezel are unobstructed.

Troubleshooting
No issues have been documented for this procedure yet — flag any assembly problems (tablet not seating flush, dock connector not making contact, bezel not closing evenly) to Ben as they come up.