Configuring Video Settings
“Materials in this manual have been reproduced with the permission of Persistent Systems, LLC, Copyright © 2026. References to Wave Relay® are made with the permission of Persistent Systems, LLC, the sole owner of the Wave Relay® registered trademark and Wave Relay® technology, and do not constitute or imply endorsement by the United States Government.”
Overview
How to check camera input status, configure the onboard video encoder, view the video viewer URL, and check video encoding status, sourced from the official MPU5 Basic Operator Manual (Part V: Device Operation).
Manual Reference
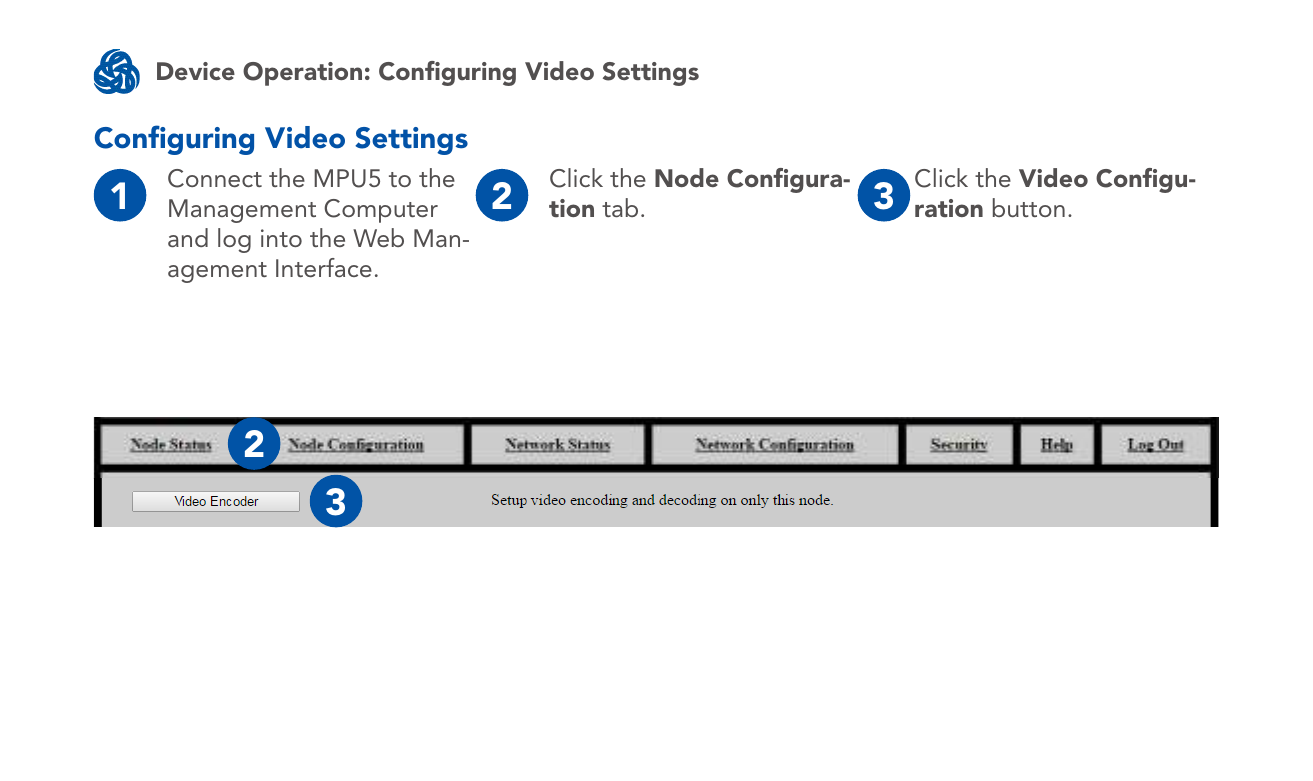
Open Video Configuration
- Connect the MPU5 to the Management Computer and log into the Web Management Interface.
- Click the Node Configuration tab.
- Click the Video Configuration button.
Check camera input status
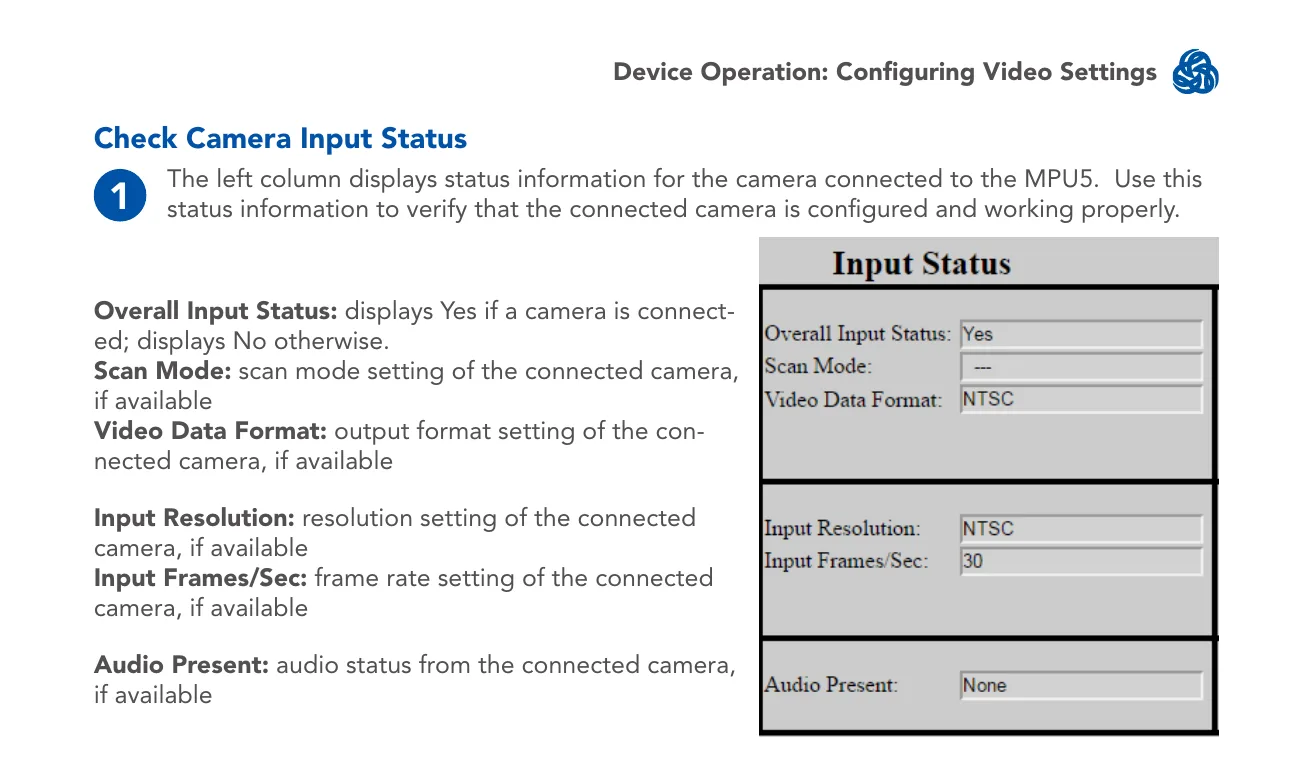
The left column displays status information for the camera connected to the MPU5. Use this status information to verify that the connected camera is configured and working properly.
- Overall Input Status — displays Yes if a camera is connected; displays No otherwise.
- Scan Mode — scan mode setting of the connected camera, if available.
- Video Data Format — output format setting of the connected camera, if available.
- Input Resolution — resolution setting of the connected camera, if available.
- Input Frames/Sec — frame rate setting of the connected camera, if available.
- Audio Present — audio status from the connected camera, if available.
Encoder configuration
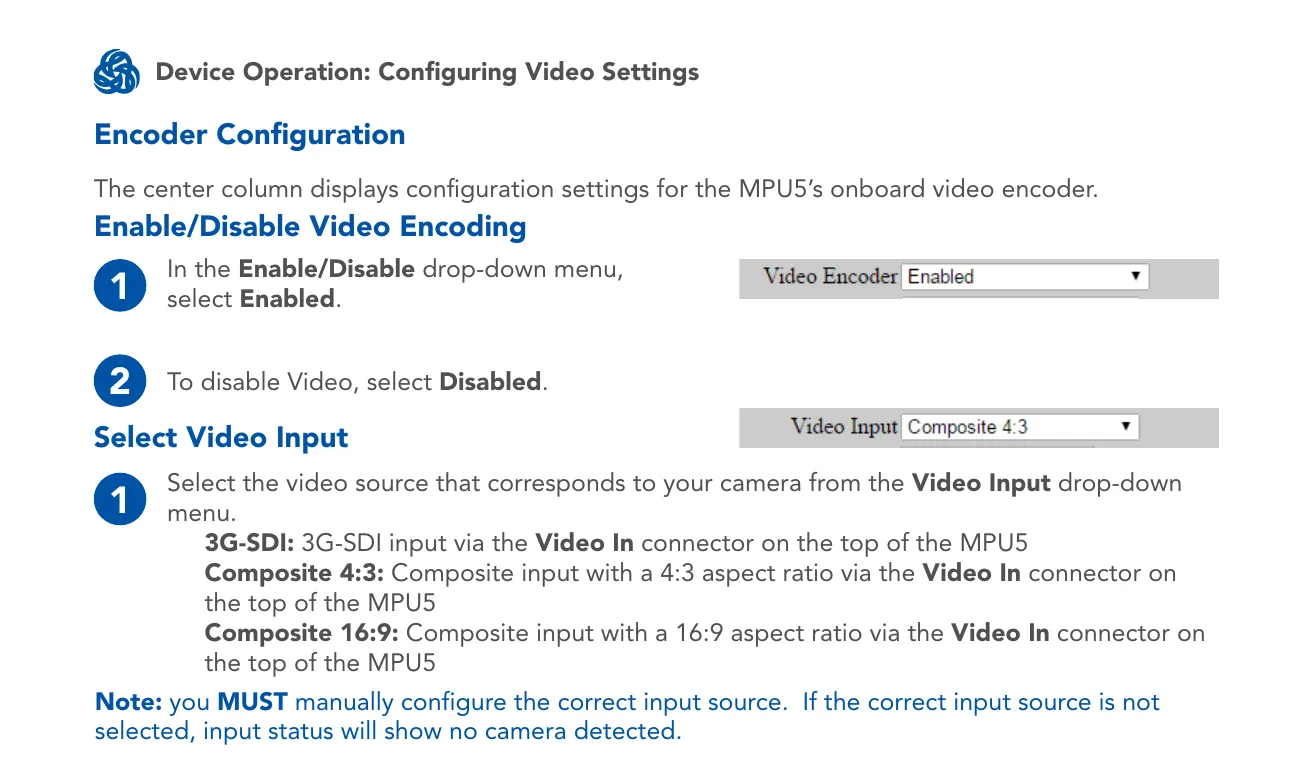
The center column displays configuration settings for the MPU5's onboard video encoder.
- In the Enable/Disable drop-down menu, select Enabled. To disable video, select Disabled.
- Select the video source that corresponds to your camera from the Video Input drop-down menu:
- 3G-SDI — 3G-SDI input via the Video In connector on the top of the MPU5
- Composite 4:3 — Composite input with a 4:3 aspect ratio via the Video In connector
- Composite 16:9 — Composite input with a 16:9 aspect ratio via the Video In connector
Note: you MUST manually configure the correct input source. If the correct input source is not selected, input status will show no camera detected.
Configure video output IP address and port
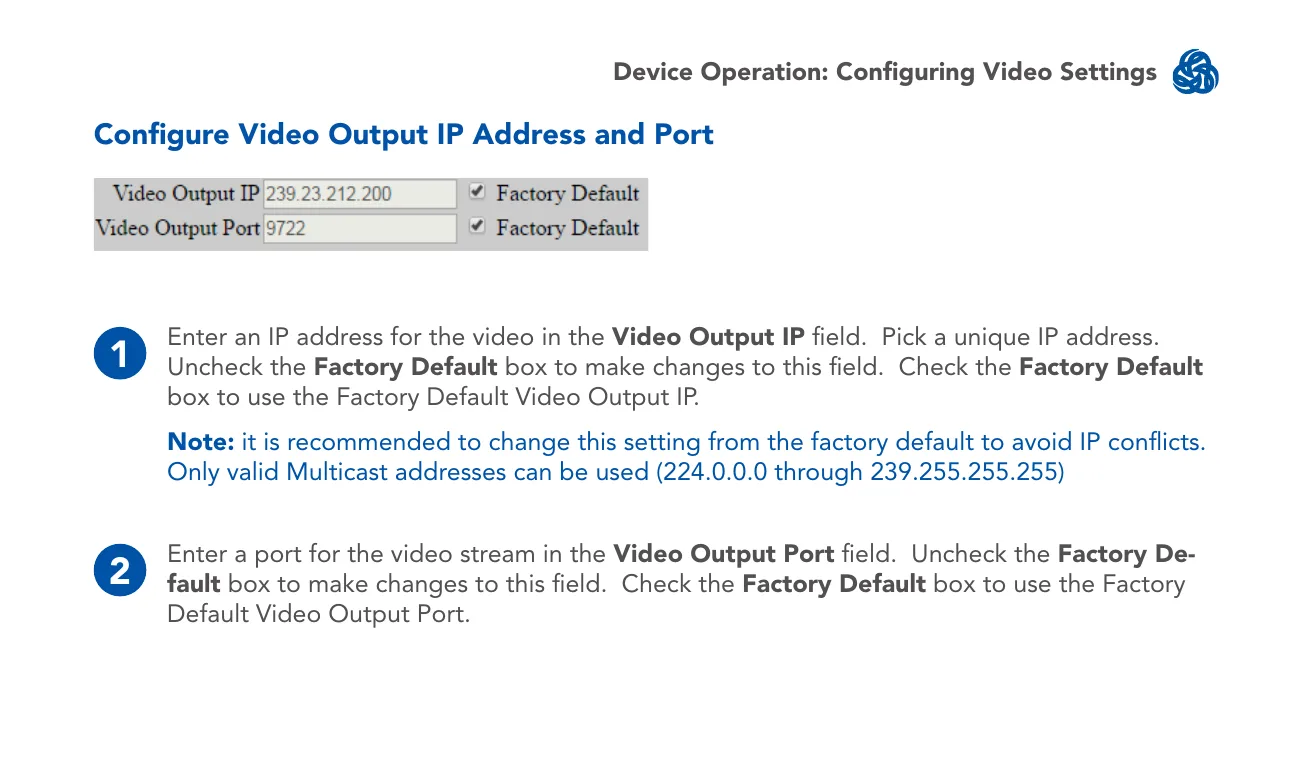
- Enter an IP address for the video in the Video Output IP field. Pick a unique IP address. Uncheck the Factory Default box to make changes to this field, or check it to use the factory default.
- Enter a port for the video stream in the Video Output Port field. Uncheck the Factory Default box to make changes to this field, or check it to use the factory default.
Note: it is recommended to change this setting from the factory default to avoid IP conflicts. Only valid Multicast addresses can be used (224.0.0.0 through 239.255.255.255).
Advanced video configuration options
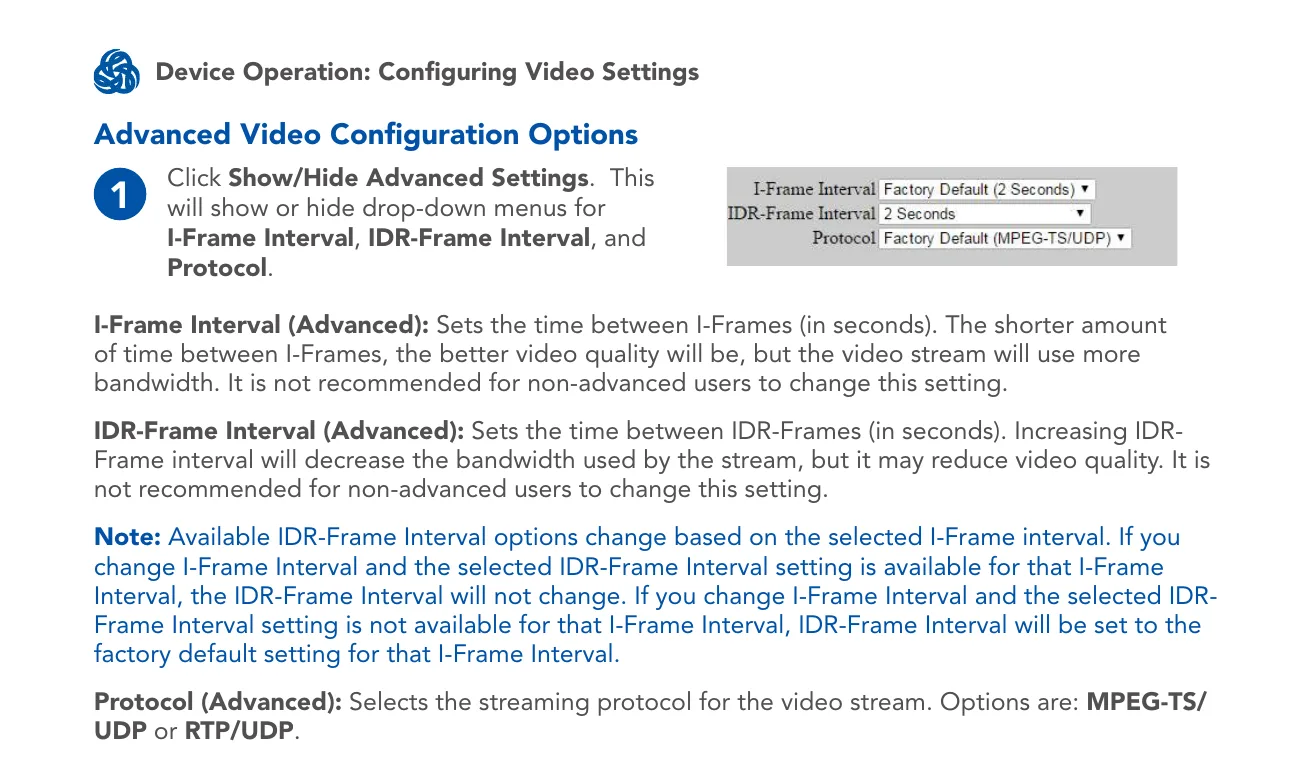
- Click Show/Hide Advanced Settings. This shows or hides drop-down menus for I-Frame Interval, IDR-Frame Interval, and Protocol.
- I-Frame Interval (Advanced) — sets the time between I-Frames, in seconds. The shorter the interval, the better the video quality, but the video stream will use more bandwidth. Not recommended for non-advanced users to change.
- IDR-Frame Interval (Advanced) — sets the time between IDR-Frames, in seconds. Increasing IDR-Frame interval decreases bandwidth used by the stream, but may reduce video quality. Not recommended for non-advanced users to change.
- Protocol (Advanced) — selects the streaming protocol: MPEG-TS/UDP or RTP/UDP.
Note: available IDR-Frame Interval options change based on the selected I-Frame interval. If the currently selected IDR-Frame Interval is still available for the newly selected I-Frame Interval, it won't change; otherwise it resets to the factory default for that I-Frame Interval.
Select video encoding settings
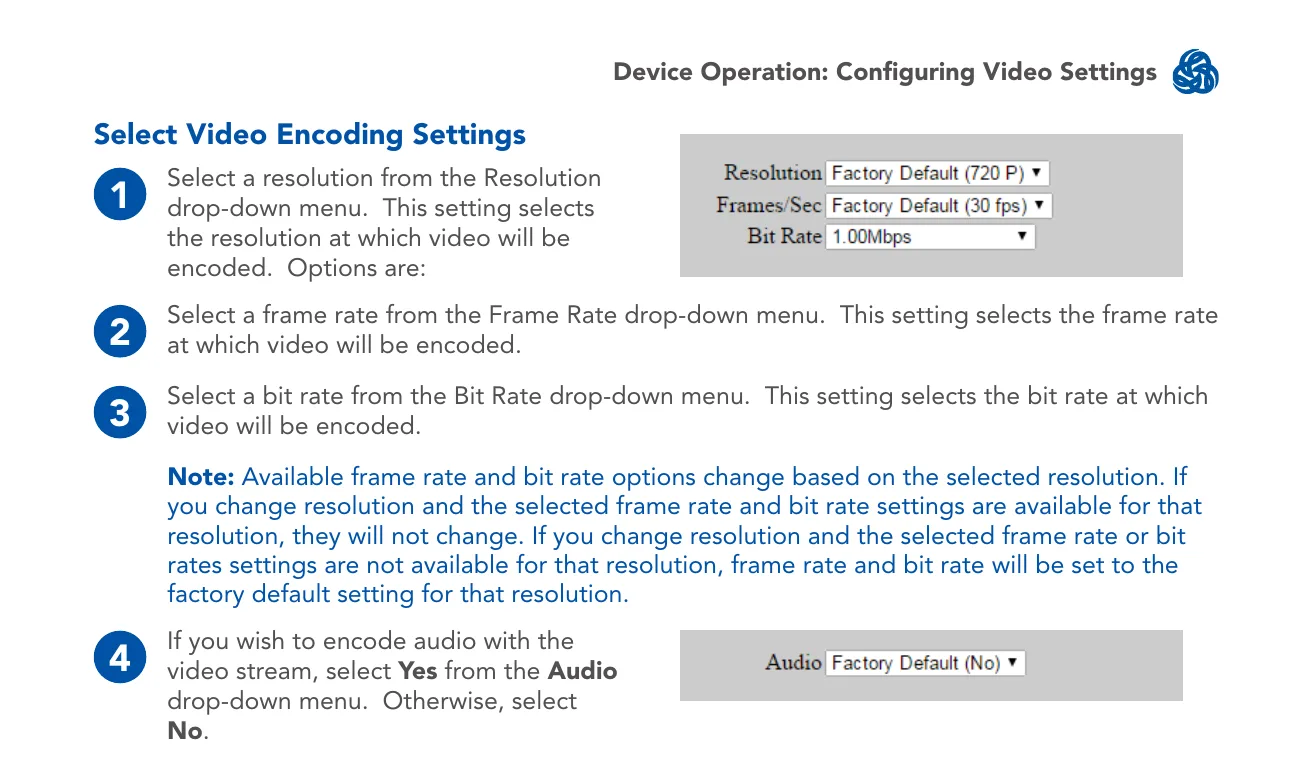
- Select a resolution from the Resolution drop-down menu — this selects the resolution at which video will be encoded.
- Select a frame rate from the Frame Rate drop-down menu.
- Select a bit rate from the Bit Rate drop-down menu.
- If you wish to encode audio with the video stream, select Yes from the Audio drop-down menu. Otherwise, select No.
Note: available frame rate and bit rate options change based on the selected resolution, following the same keep-if-available/reset-to-default logic as above.
- When finished configuring settings, click Save & Reconfigure Unit.
Video Viewer URL
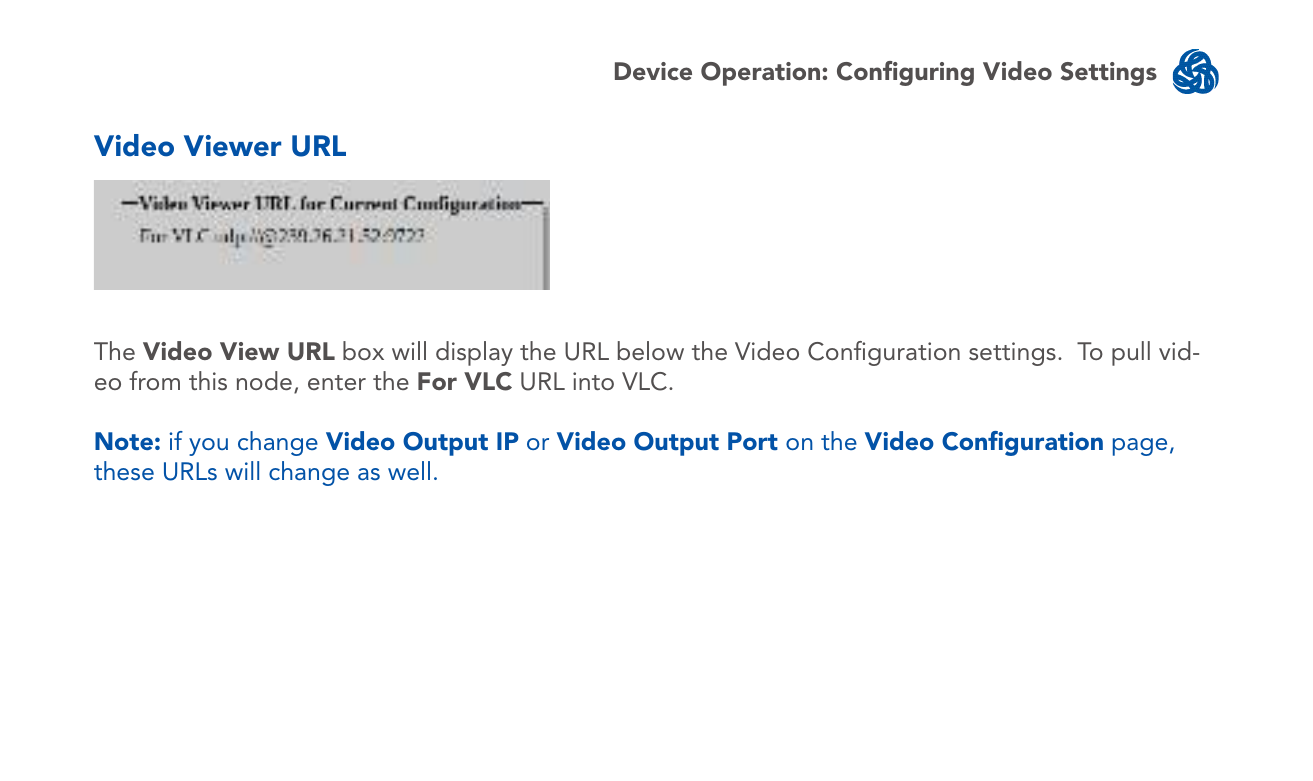
The Video Viewer URL box displays the URL below the Video Configuration settings. To pull video from this node, enter the For VLC URL into VLC.
Note: if you change Video Output IP or Video Output Port, these URLs will change as well.
Video encoding status
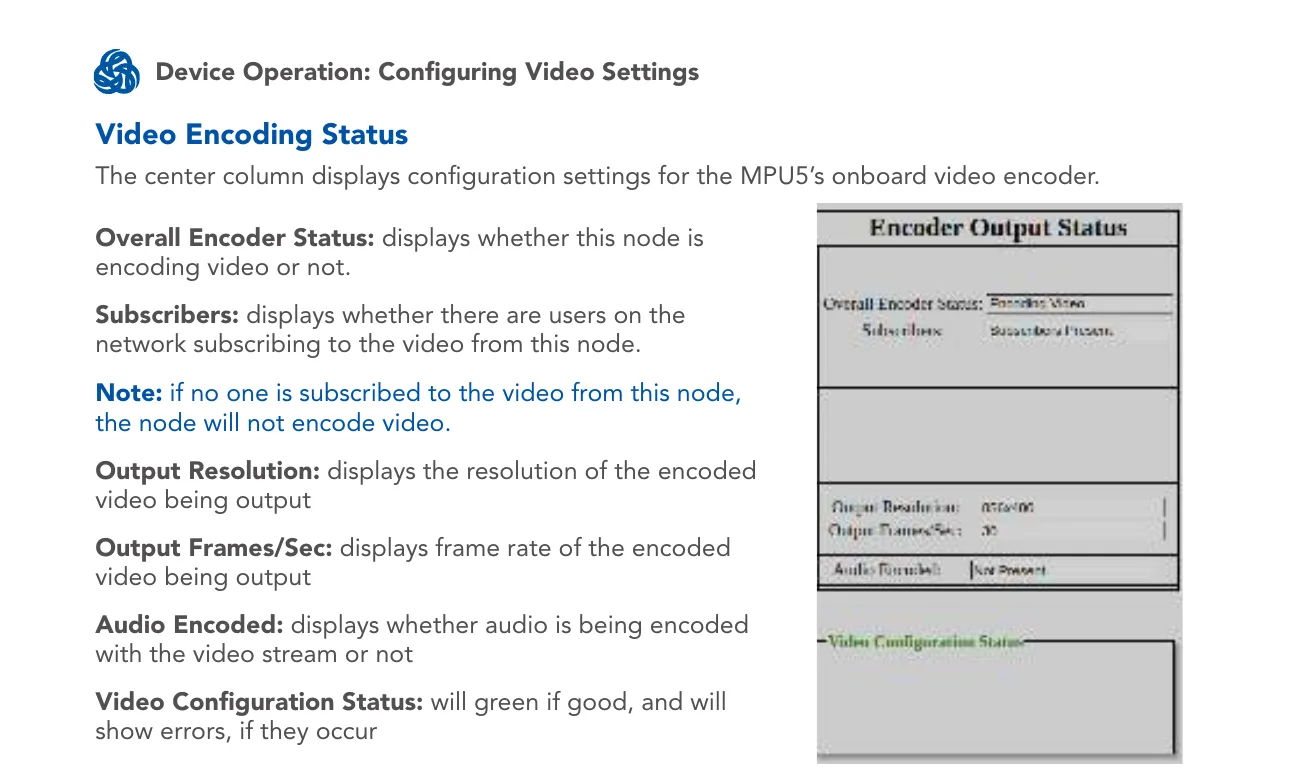
The center column also displays live status for the onboard video encoder:
- Overall Encoder Status — displays whether this node is encoding video or not.
- Subscribers — displays whether there are users on the network subscribing to the video from this node. If no one is subscribed, the node will not encode video.
- Output Resolution — displays the resolution of the encoded video being output.
- Output Frames/Sec — displays the frame rate of the encoded video being output.
- Audio Encoded — displays whether audio is being encoded with the video stream.
- Video Configuration Status — shows green if good, and shows errors if they occur.
Troubleshooting: video is not being encoded
- Ensure that the camera is powered and all cables are connected securely to the correct connectors.
- Ensure Video Encoding is enabled on the node. You must click Save & Reconfigure Unit for settings to take effect.
- Ensure that the correct video input is selected on the Video Encoding Configuration page.
- If there are no subscribers to the video, video will not be encoded — check whether video is being encoded when a subscriber is present.
- Ensure the correct Video Viewer URL is entered into your video viewer.
Source
MPU5 (WR-5100) Basic Operator Manual, v3.2, 03EN073 Rev. P — Part V: Device Operation, pages 96–105.