AuthFlow 0.1 Configuration
AuthFlow 0.1 is only for ATAK versions 5.6 and older. ATAK 5.7 and newer use AuthFlow 1.1 — see AuthFlow 1.1 Configuration.
Overview
Covers connecting ATAK to a TAK Server using AuthFlow, ATAK's automated server-registration and login mechanism. AuthFlow handles adding the server for you — there's no need to manually pre-configure a server connection first.
Important: Always use AuthFlow for server connection/authentication rather than trying to configure the connection manually — manual workarounds are not supported.
Prerequisites
- ATAK installed on the device.
- Network connectivity to the TAK server (confirm DNS is resolving correctly — see Troubleshooting).
- Valid credentials for the TAK server.
Steps
One-time preferences (only if login fails with default settings)
-
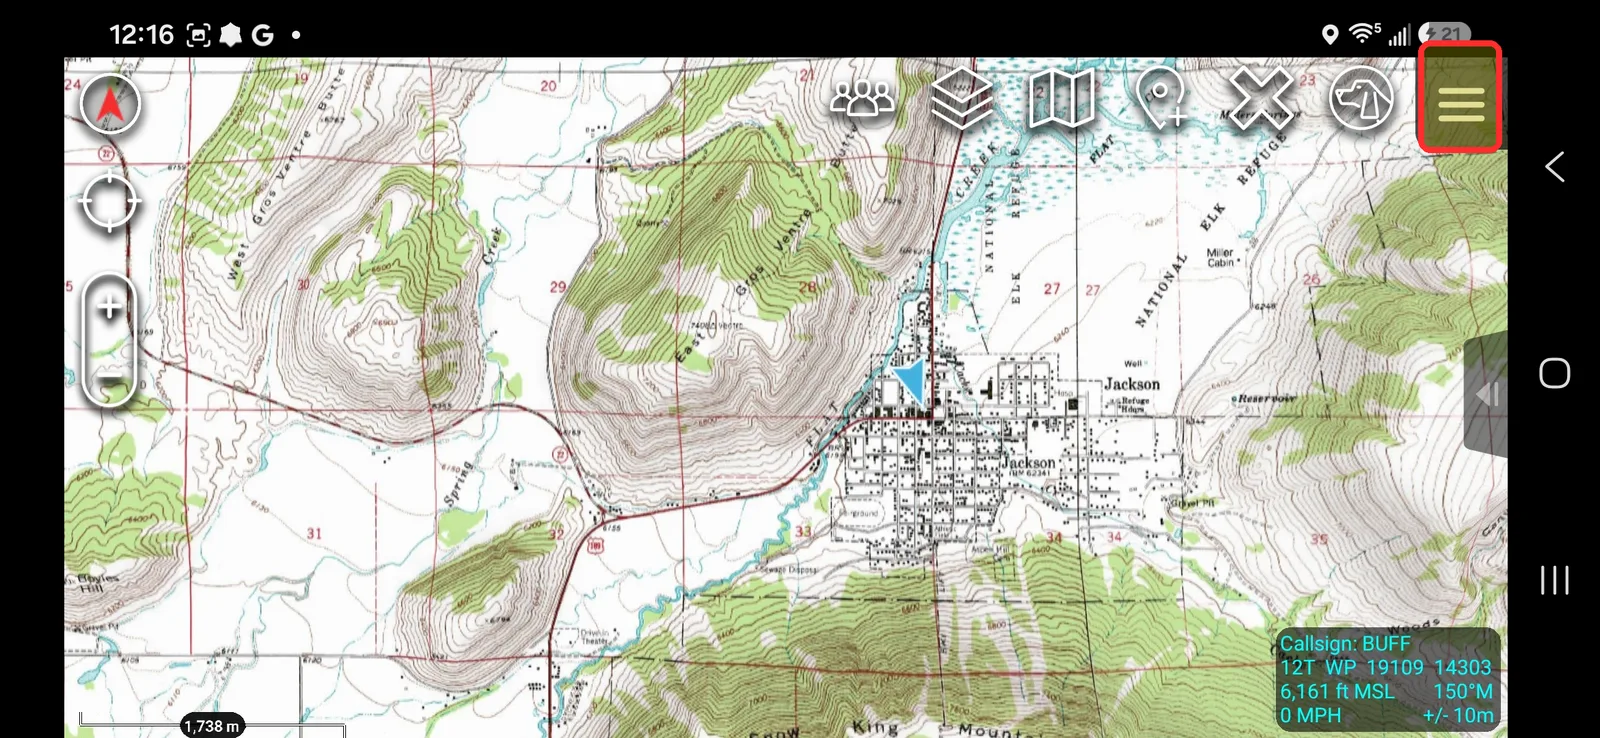
Tap the Hamburger Menu icon in the top-right corner of the ATAK map view (highlighted below).
-
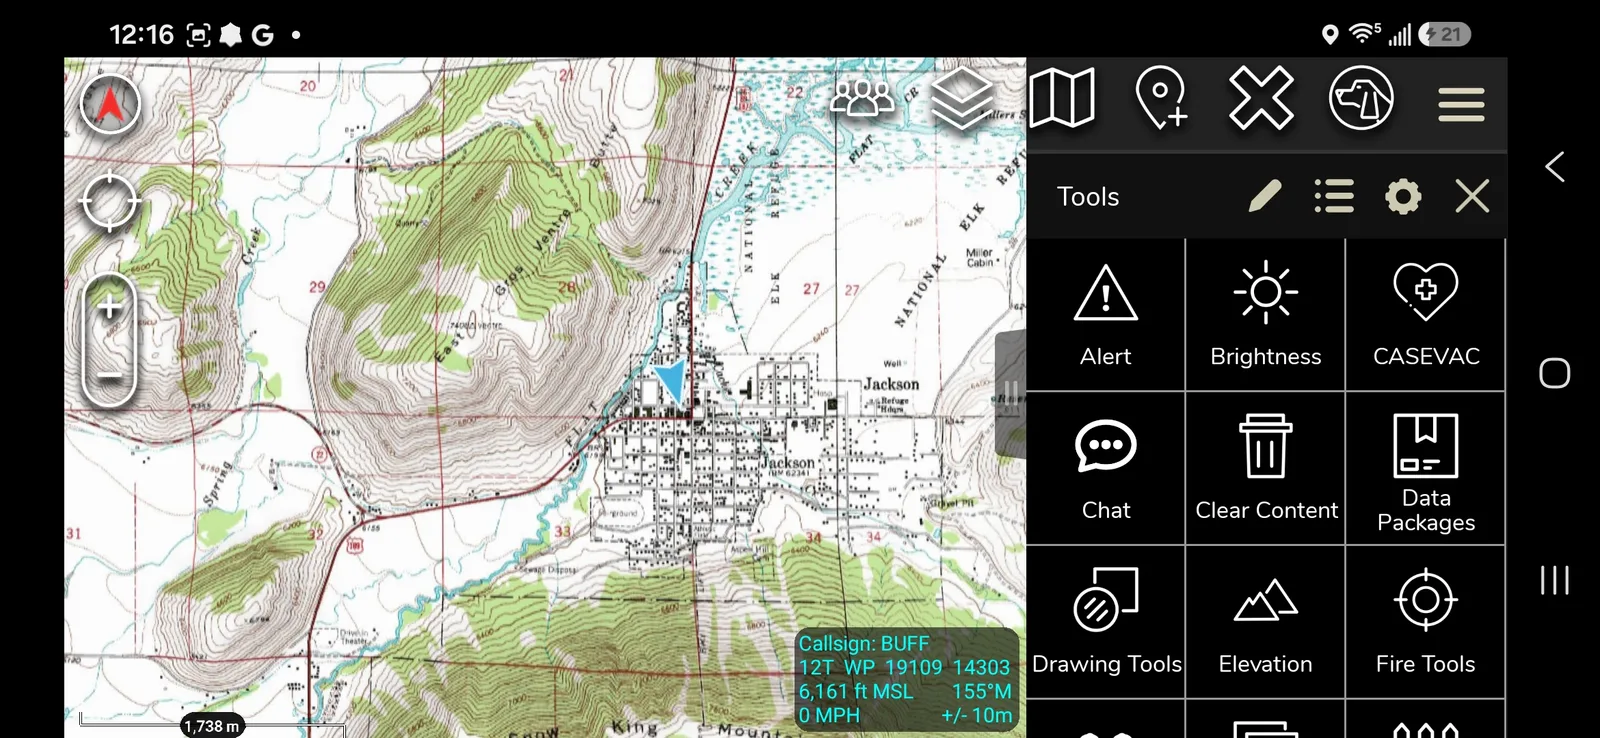
The Tools panel opens. Scroll down — Settings and Auth Flow both live near the bottom of this list.
-
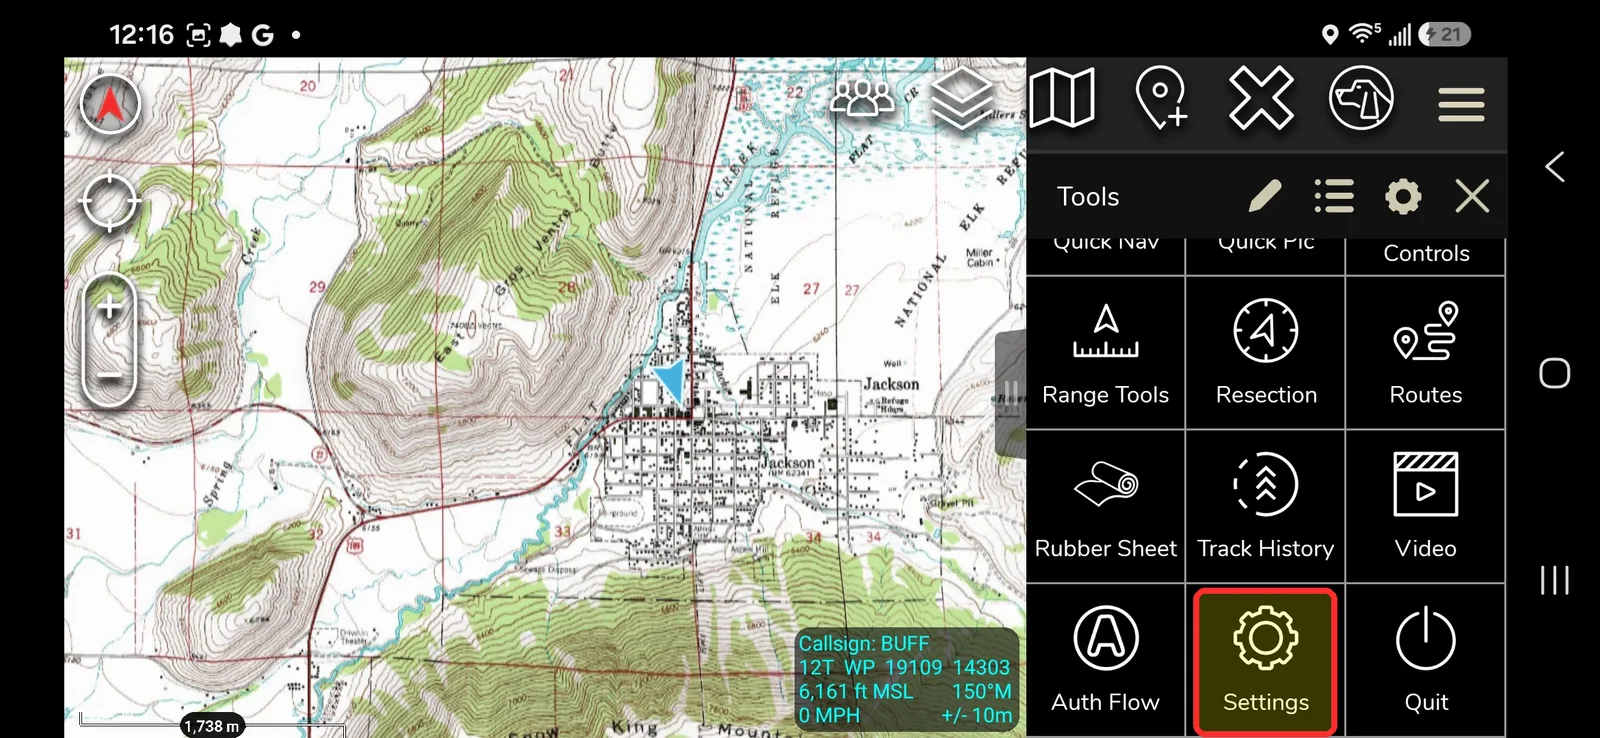
Tap Settings (highlighted below).
-
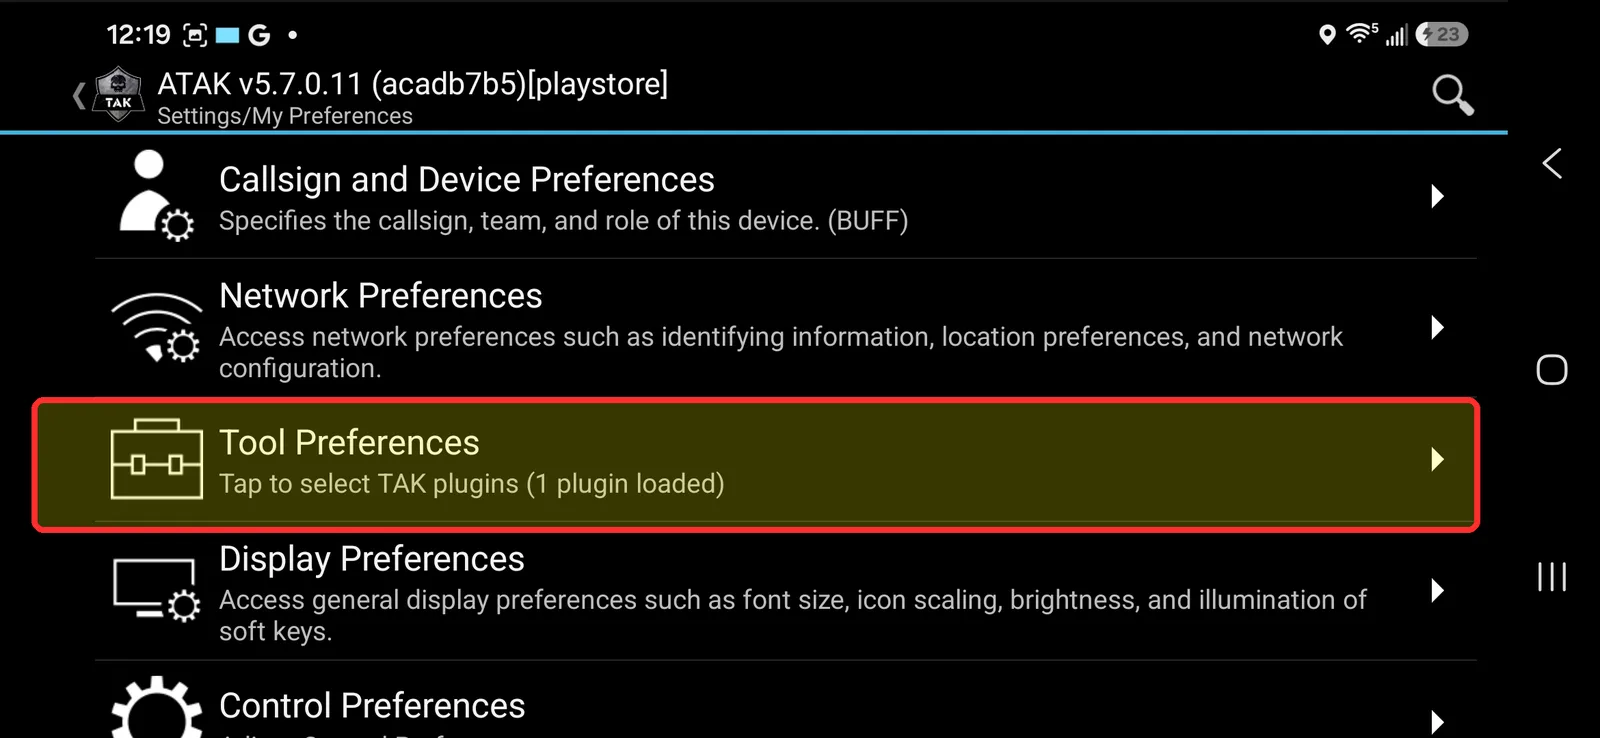
On the My Preferences screen, tap Tool Preferences (highlighted below).
-
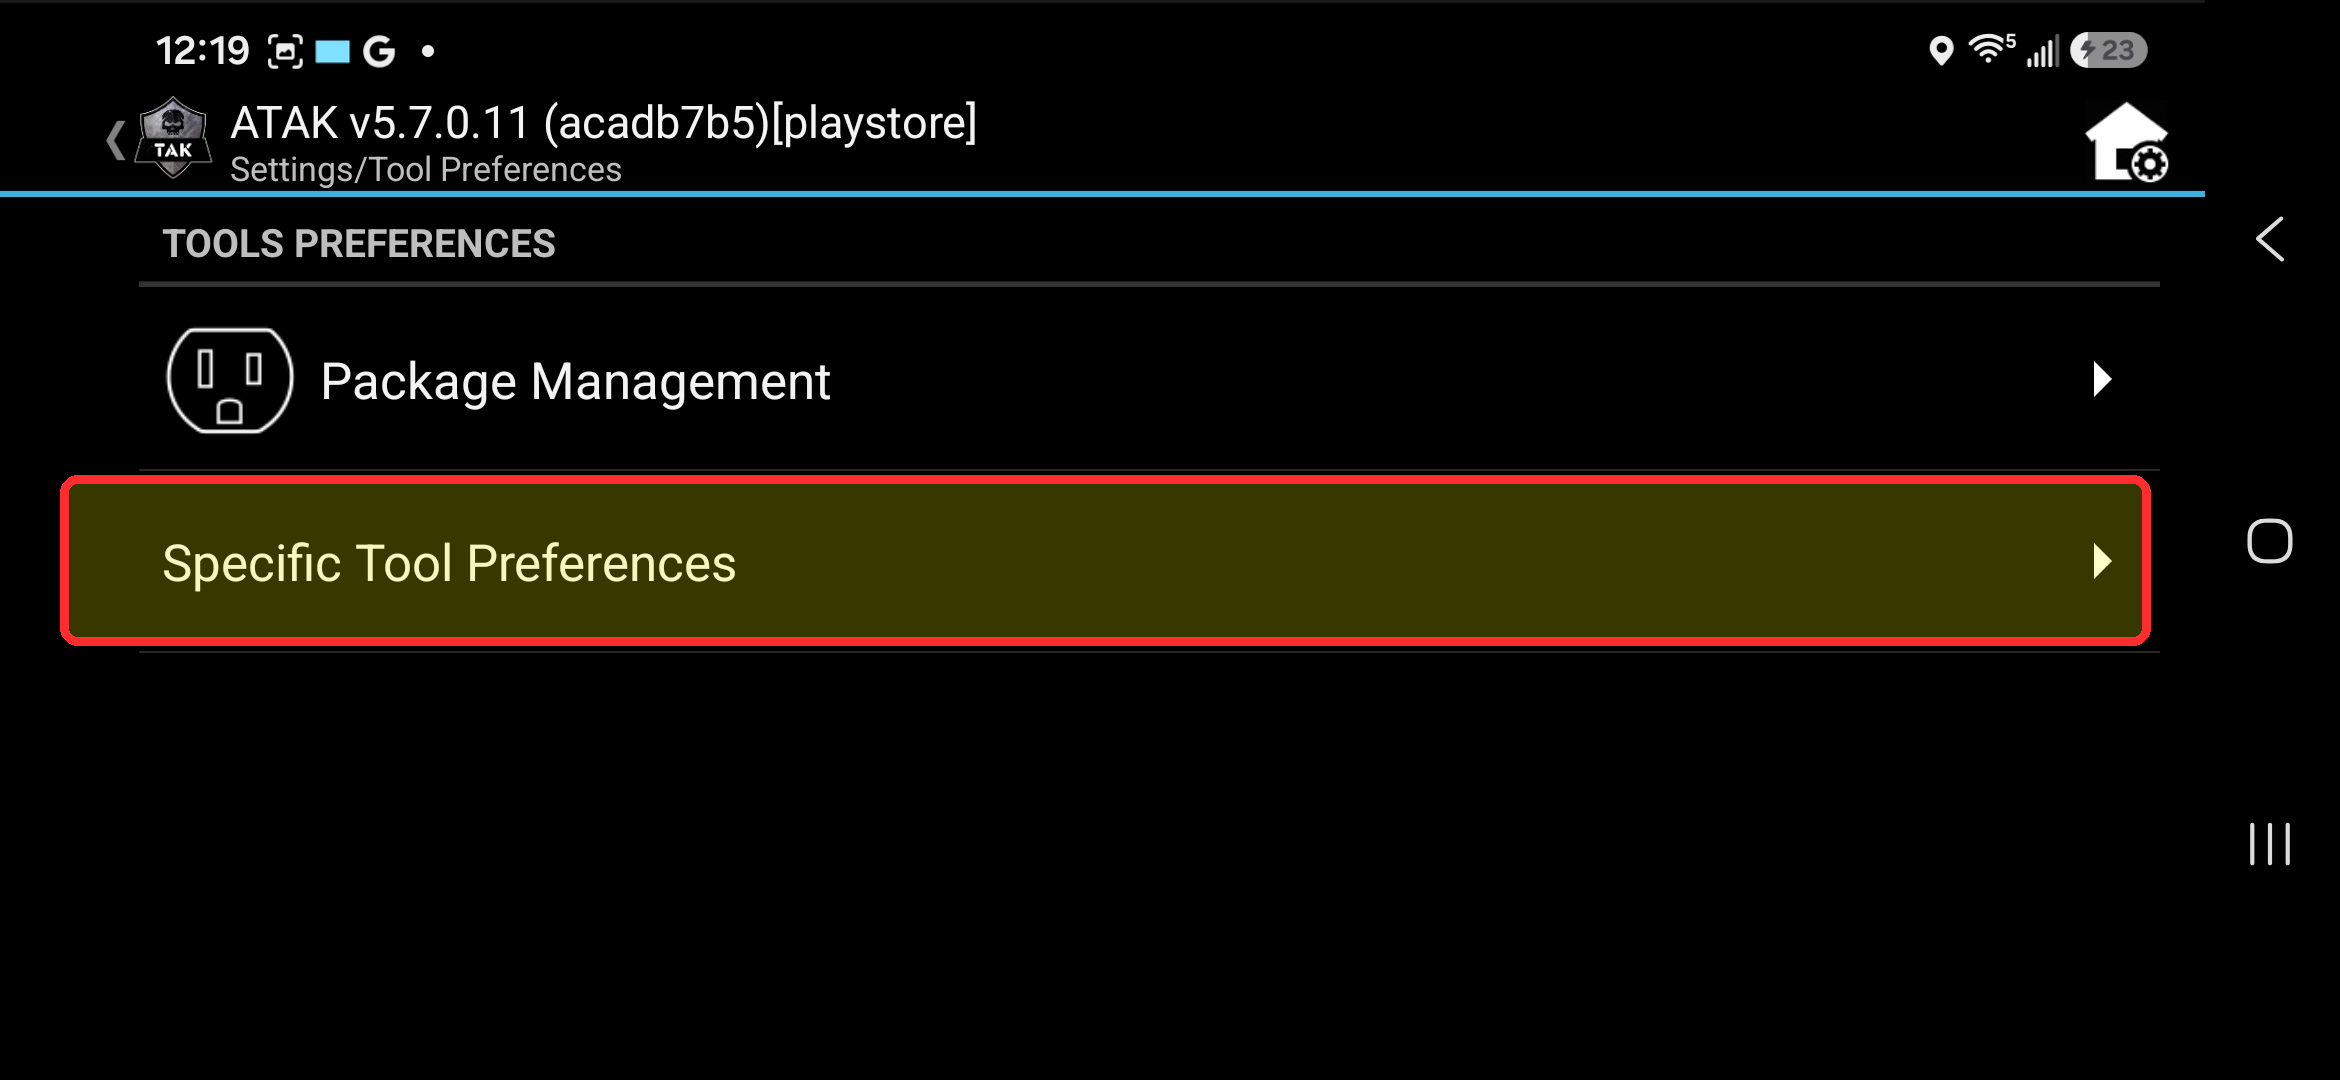
On the Tool Preferences screen, tap Specific Tool Preferences (highlighted below).
-
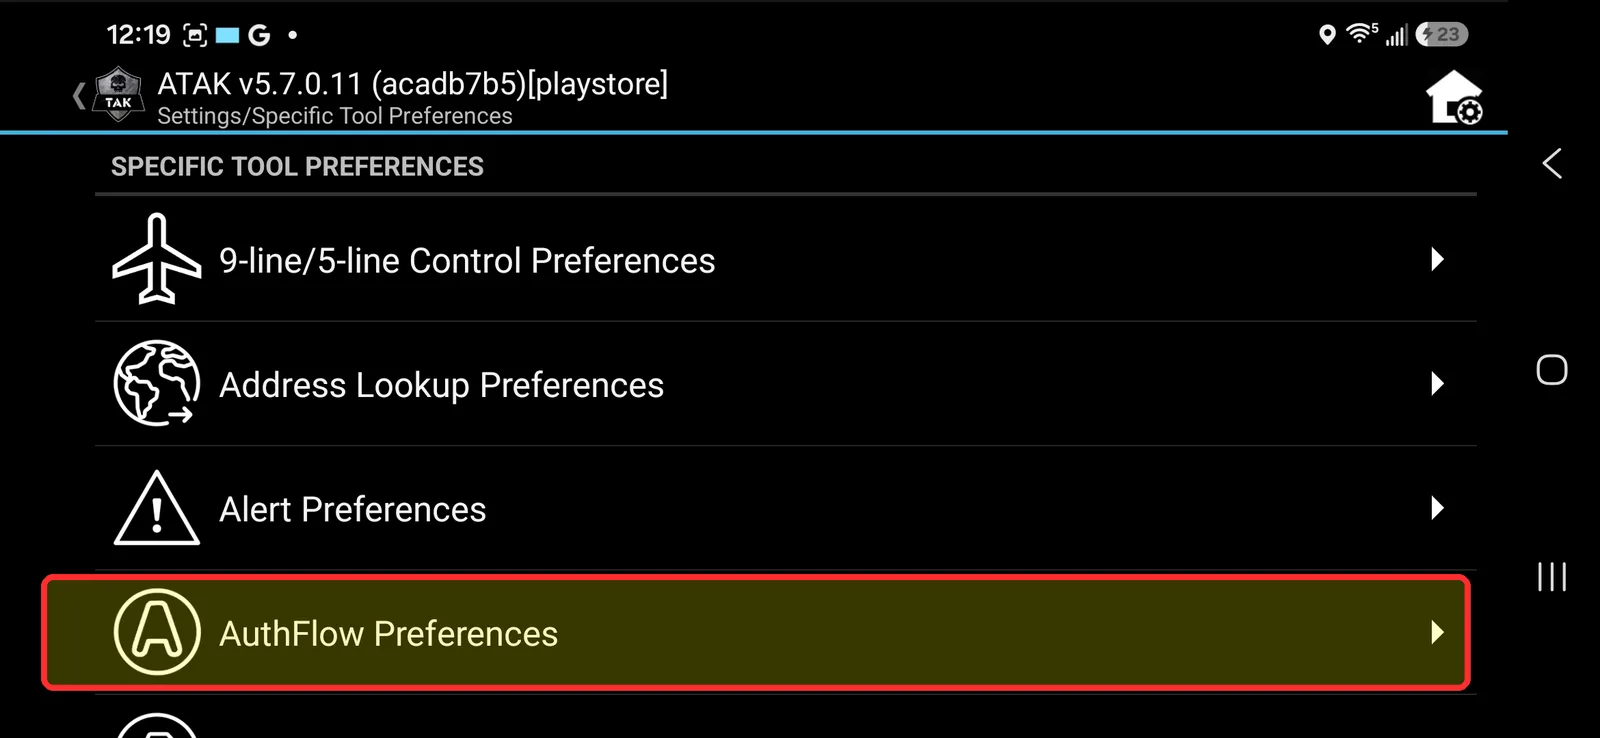
On the Specific Tool Preferences screen, tap Auth Flow Preferences (highlighted below).
-
On the Auth Flow Preferences screen, set Username Claim (highlighted below) to the literal value
email— type the word "email", not your actual email address.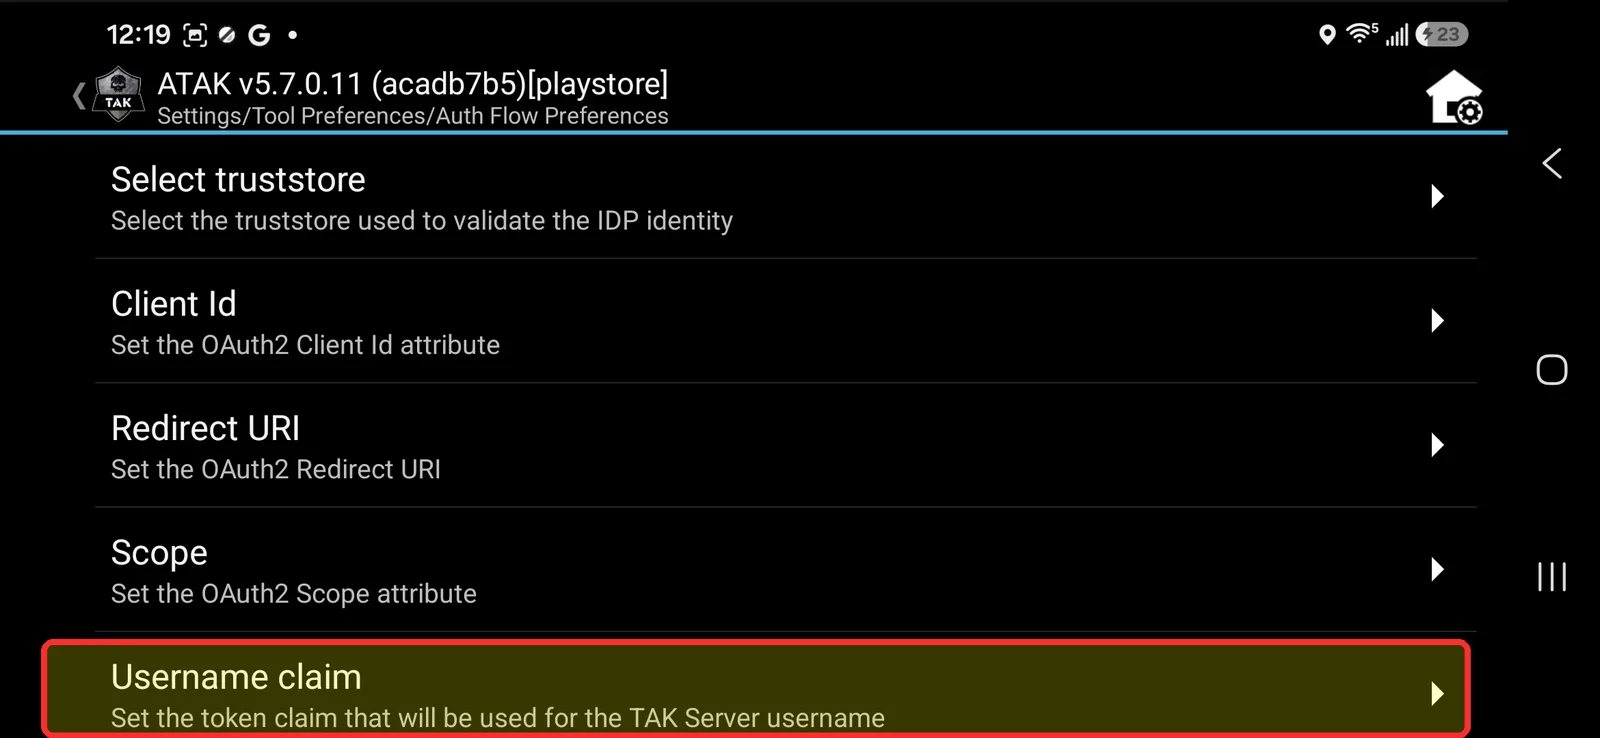
-
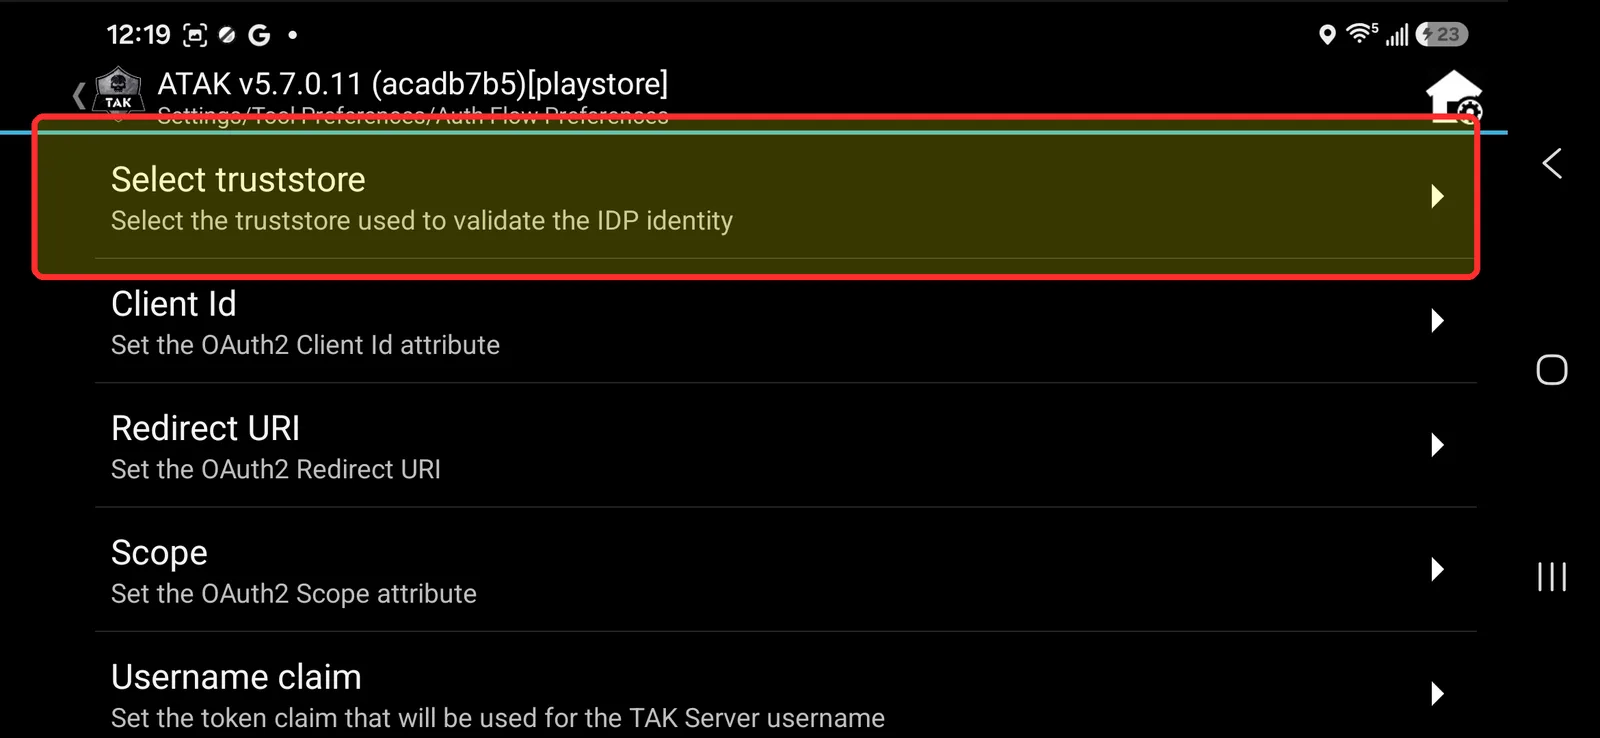
Still on Auth Flow Preferences, tap Select truststore (highlighted below) and choose Trust all certs.
Connect to the server
-
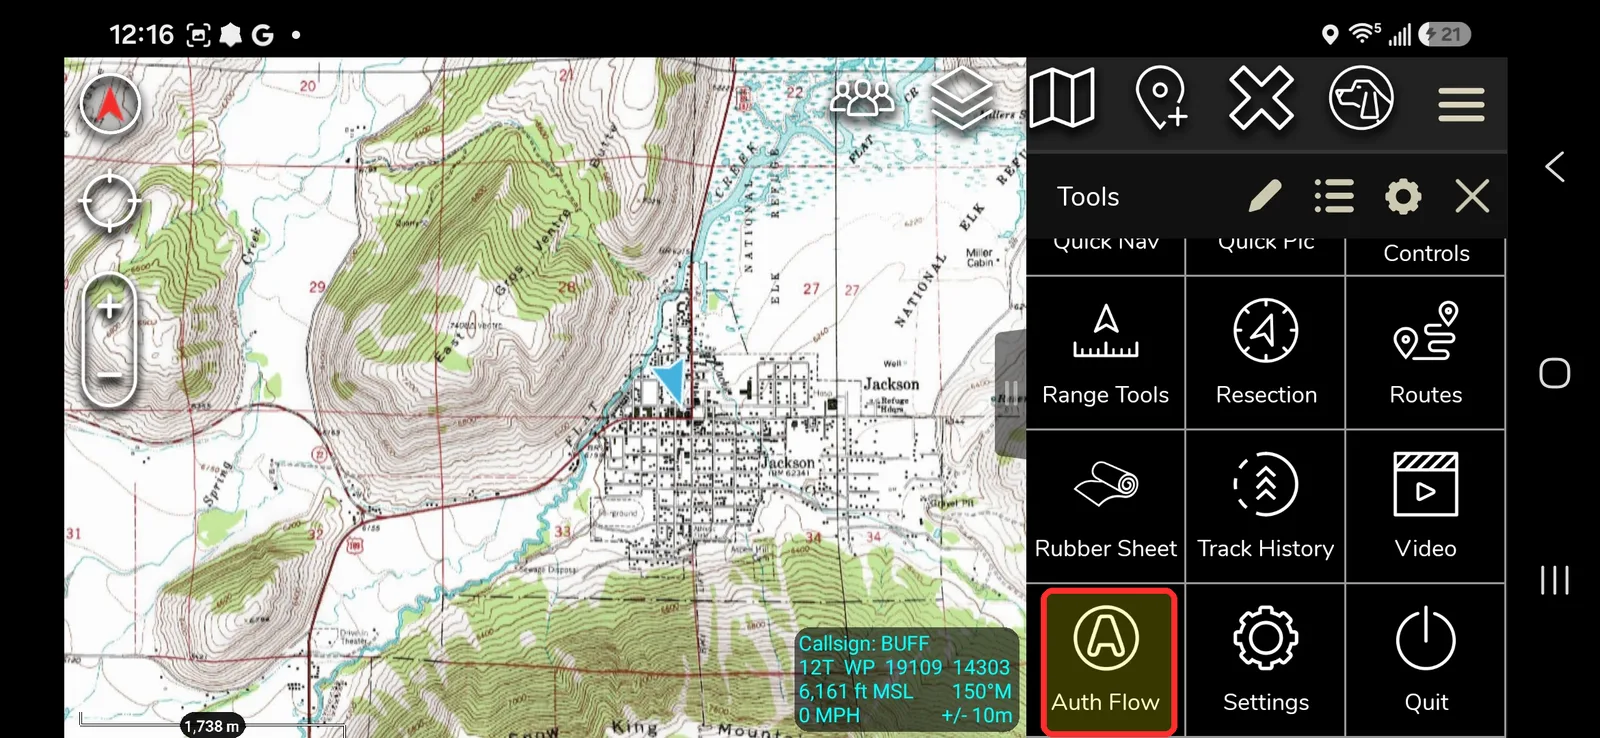
From the Hamburger Menu, open the Tools panel again and tap Auth Flow (highlighted below).
-
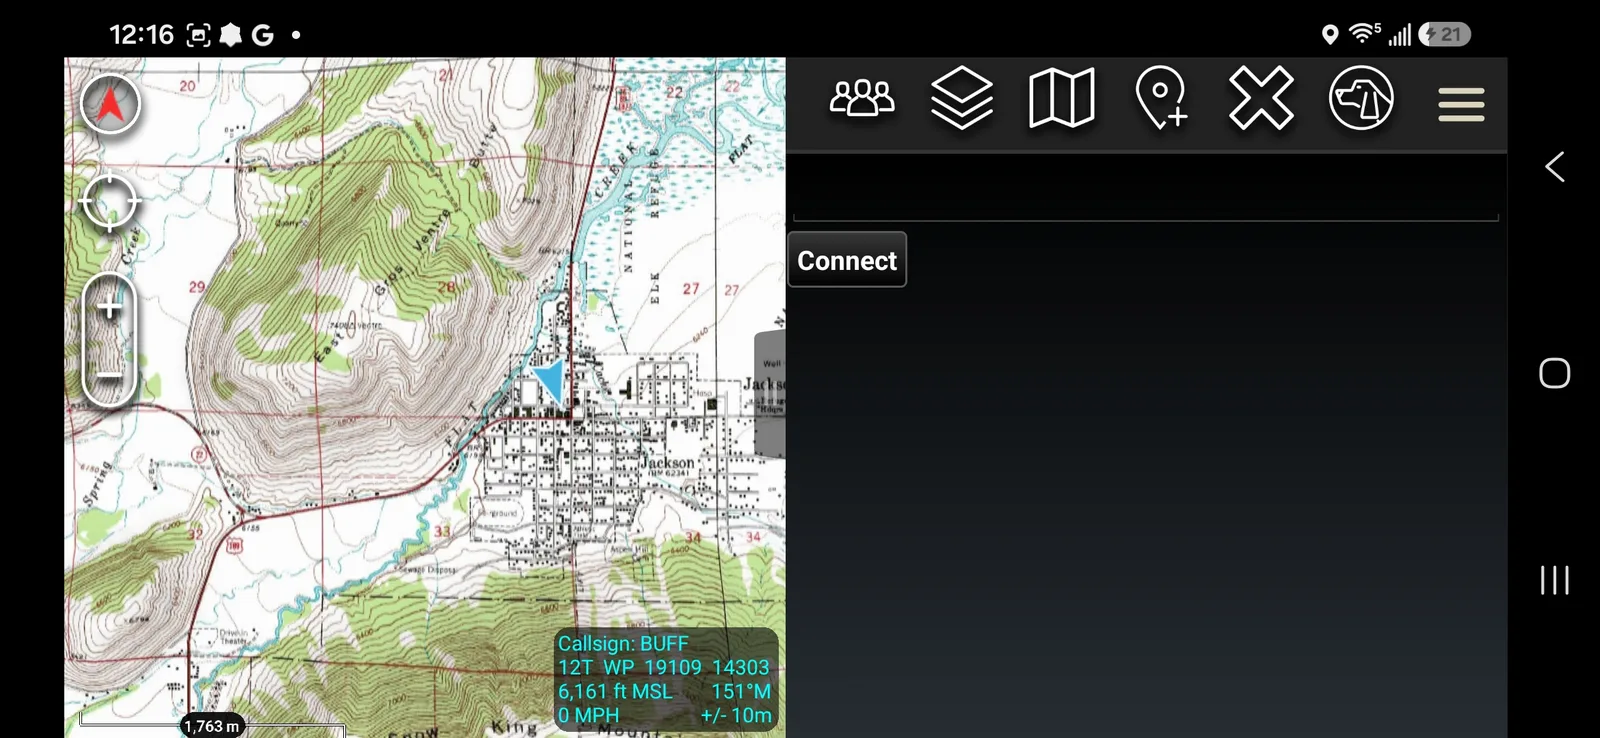
The AuthFlow Connect screen opens with an empty server field. Tap into it.
-
Enter
tak.mchmr.usin the field and tap Connect.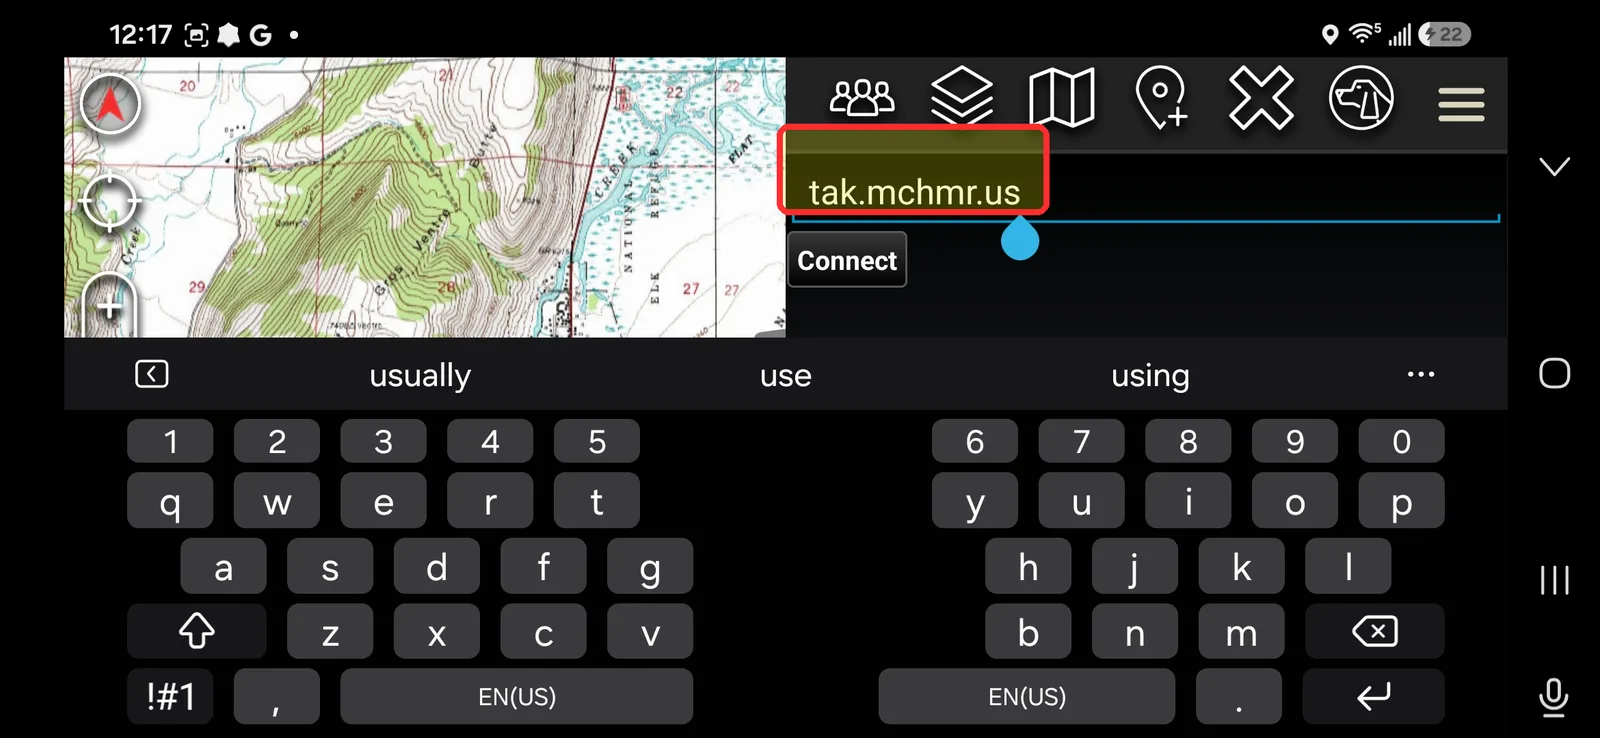
-
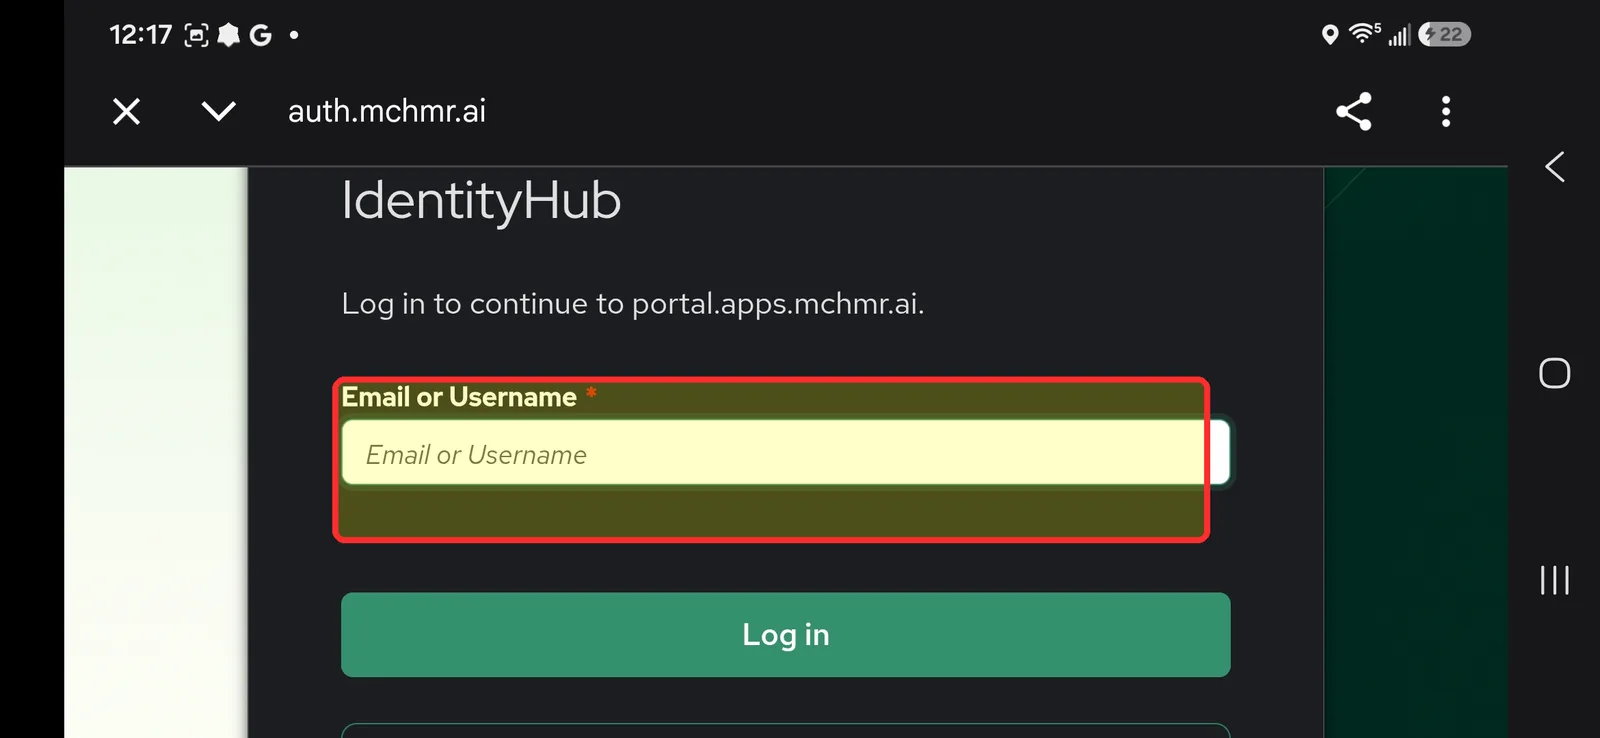
A login popup appears. Enter your username/email in the field highlighted below.
-
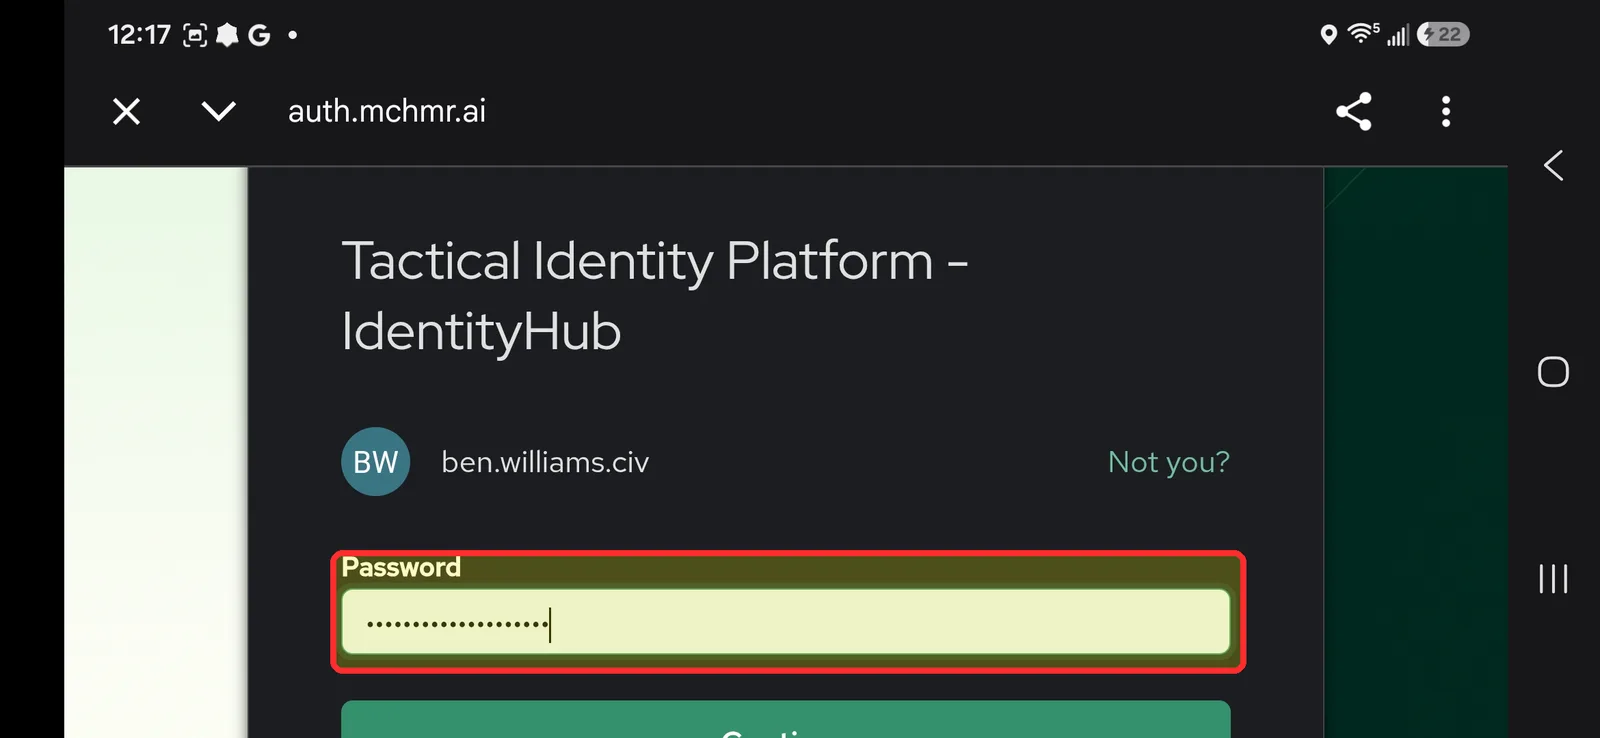
Enter your password in the field highlighted below and tap Login.
-
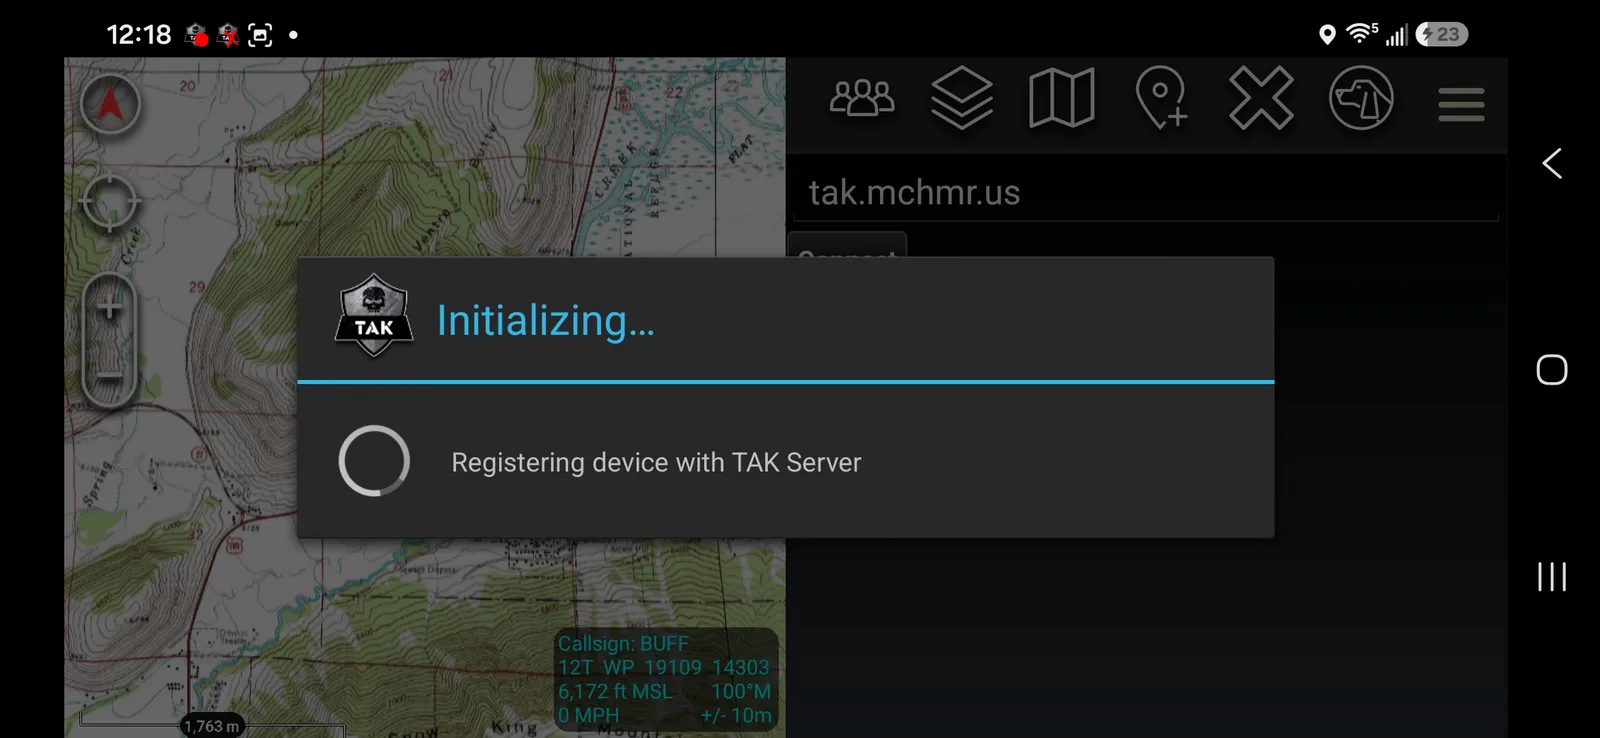
AuthFlow registers the server connection automatically — no manual server pre-configuration is needed. Wait for the registration dialog to finish.
-
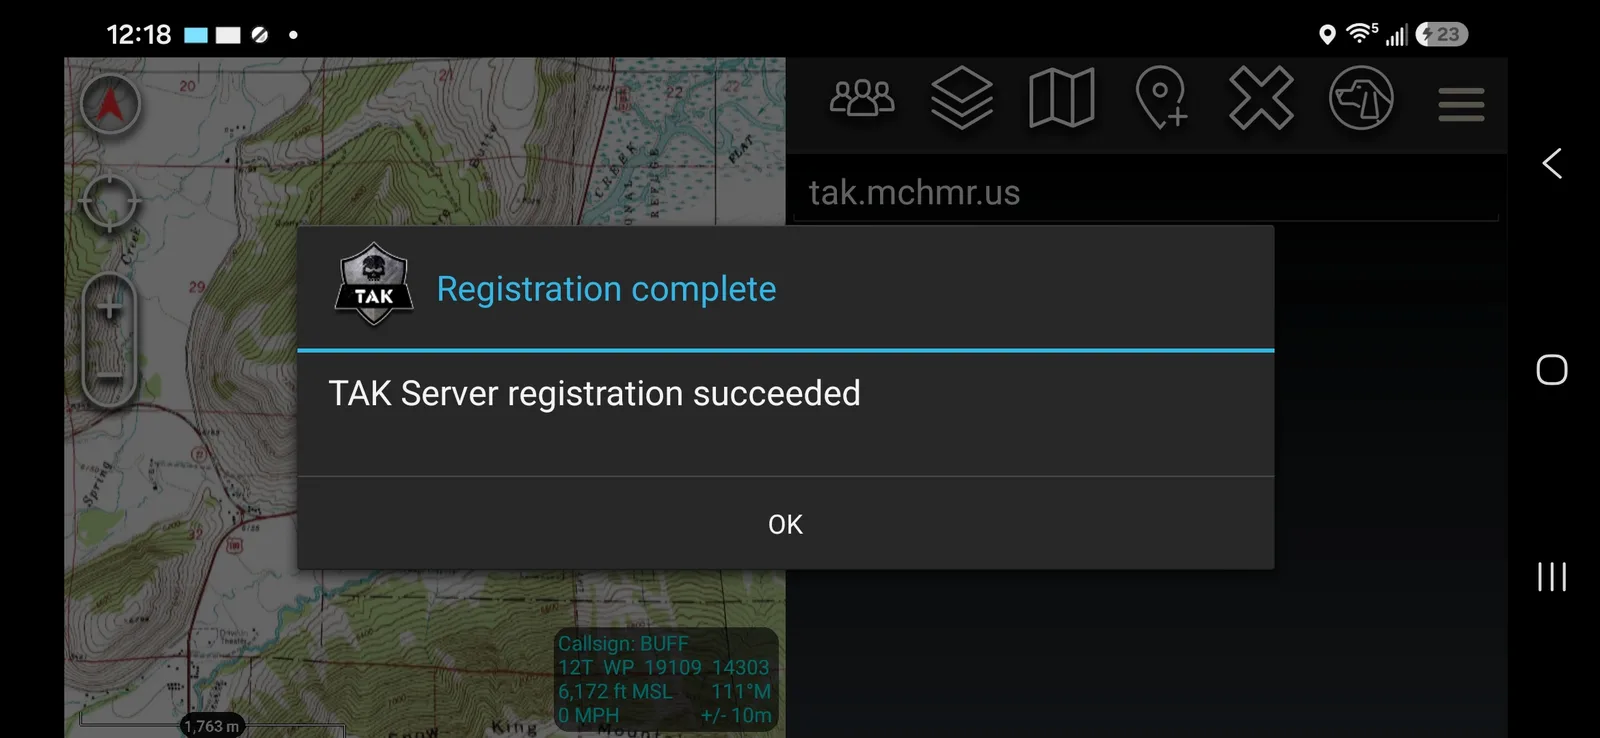
On success, you'll see a confirmation message.
-
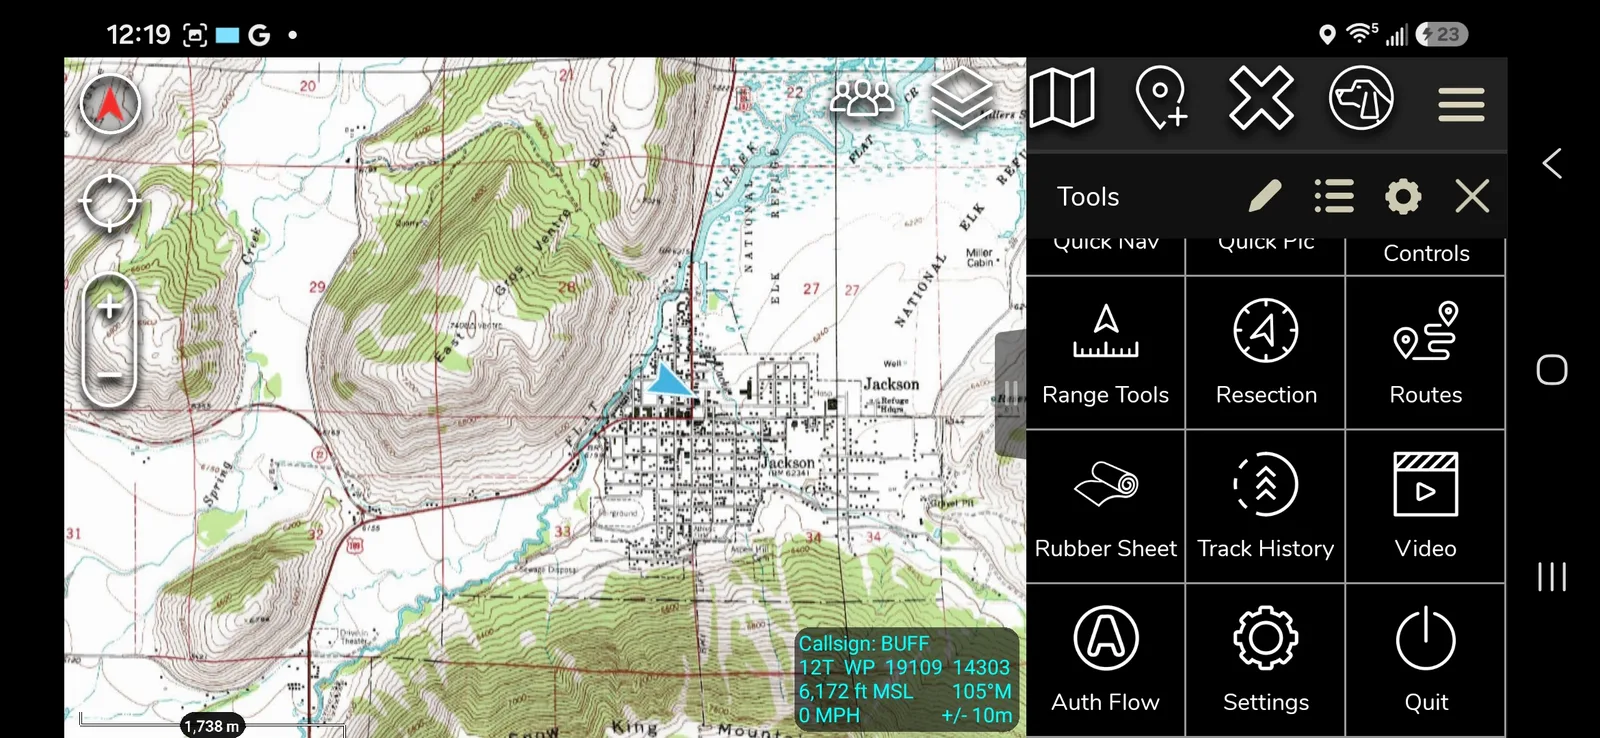
Back at the Tools panel, Auth Flow now shows the server as connected.
Troubleshooting
- TAK server failed registration: this is most often a Username Claim misconfiguration — double-check it's set to the literal value
email(not your actual email address) in Auth Flow Preferences. - Typed the wrong host into the AuthFlow Connect field: the TAK server (e.g.
tak.mchmr.us) is a different host from the identity portal (auth.mchmr.ai/auth.mchmr.us) used for browser-based logins like WebTAK. AuthFlow needs the TAK server host — double-check before connecting. - Can't reach the server / connection times out: check Settings > Connections > Wifi (or your active connection type) and verify the DNS server is set to the local DNS server.
- Login popup or AuthFlow page won't load / stale behavior: if accessing AuthFlow through a browser-based step, clear browsing data — in Chrome: ⋮ (three-dot menu) > Delete Browsing Data, set the time range to since you last logged in, then Delete Data.
- Certificate errors during connect: set the truststore to Trust all certs in Auth Flow Preferences (see Step 8).
- Tempted to configure the server connection manually instead of using AuthFlow: don't — AuthFlow is required and handles server registration itself.