Import Manager
Overview
Reference material for Import Manager in WinTAK, sourced from the official WinTAK 5.7 Software User Manual (26 March 2026).
Manual Reference

Use the Import Manager to import supported files into WinTAK. Examples of file types that are supported include: XML, 3D Models, SQLite, MrSid, NITF, GRG, PFPS/RPF, GEOTIFF, GEOPDF, PFI, KML, KMZ, LPT, DRW, GPX, PREF, GML and SHP.
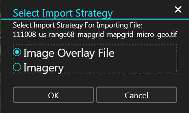
Within Import Manager, select Importable File Extensions to see a full list of all supported file type extensions. Files can be imported either by dragging and dropping a file into WinTAK, or by selecting Import Manager from the additional tools menu in the upper left corner. When prompted, select an import strategy for the file if necessary.

When the import is complete, "All files and folders successfully imported" will display on the screen. Imported DTED files will be placed into C:\ProgramData\WinTAK\DTED. Depending on the file type, most imported files will be accessible via Maps and Favorites, Overlays or Data Package.
Where imported files appear
Imported XML and SQLite files are found under the Maps & Favorites' MOBILE tab. Native type files such as MrSid, NTF, PFPS, GeoTiffs, CIB, and CADRG are found in the Maps & Favorites IMAGERY tab. Only the files that are currently in the map view appear in the IMAGERY tab. Panning the view will change the listing to correspond with the view. Files imported using the Image Overlay File import strategy will appear under the Image Overlays category in Overlay Manager.
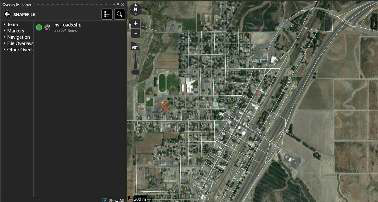
Imported overlay files, such as KML, KMZ, LPT, DRW, GPX, GML and Shapefiles, will be accessible under the File Overlays category in Overlay Manager. Imported Data Package files will be available in the Data Package tool. Imported KML geometry supports altitude and KML specified altitude modes (clamp-to-ground, absolute and relative-to-ground).
Web Feature Service (WFS) Support
WFS imagery is supported and can be ingested in several different ways. If the user has an existing WFS xml config file, it can be dragged and dropped onto the map. The file can also be manually placed into the C:\ProgramData\WinTAK\WFS folder for ingestion.
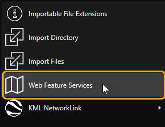
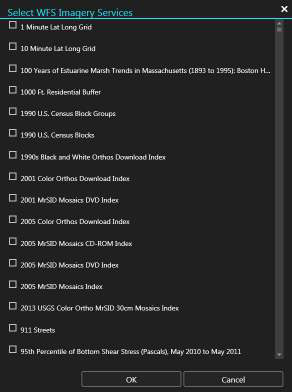
WFS Imagery can also be added by selecting Web Feature Service from the Import Manager options and entering a WFS Imagery Service URL. After querying the service, the user will be presented with a list of available Imagery sets.
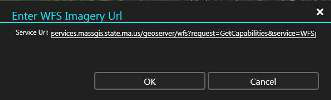
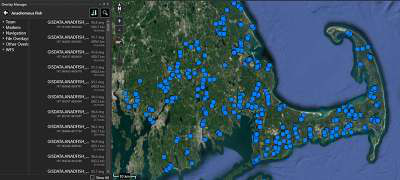
WFS layers can be filtered using the Filter field at the top of the selection window. Once layers have been checked, select OK to import them. Imported WFS layers can be found under the WFS category in Overlay Manager.
KML Network Links
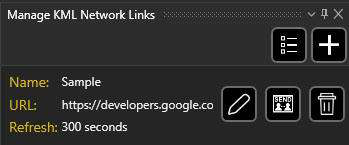
To set up a KML Network link, select KML Network Link then Manage Network Links. Once in the Manage KML Network Links panel, select +, enter a name for the link, a valid HTTP URL or Windows UNC path and a refresh interval. Select Add to save the link. The link will be downloaded and added to the map and the Overlay Manager's File Overlays category.
To add more links, or remove existing KML Network links, return to the KML Network Link import option and select Manage Network Links. Use the + to add more links or select Delete to remove an existing link.
Multiple Directories
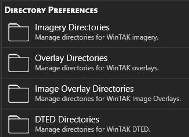
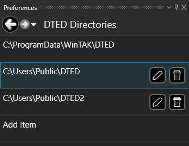
Multiple directories can be set up to be processed when WinTAK is started. These directories include Imagery, Overlays, Image Overlays and DTED. Select Settings > My Preferences and scroll down to the Directory Preferences section. Choose the desired directory then select, for example, Add DTED Source to manage which DTED folders will be processed. Select the Folder icon, navigate to the location of the DTED folder, then select OK twice. WinTAK will now read from that folder for DTED information. Additional folders can be added and WinTAK will process all of them.
Source
WinTAK Software User Manual, Version 5.7, 26 March 2026, pages 75–77.