Track History
Overview
Reference material for Track History in WinTAK, sourced from the official WinTAK 5.7 Software User Manual (26 March 2026).
Manual Reference

When GPS is available, WinTAK will track user movements, creating track paths. These track paths can be viewed on the display, exported to a file or uploaded to a server. A GPS position must be established before tracking can begin. Track History can be configured in Settings > Tools Preferences > Track History Preferences.
The Track History Tool controls the storage and display of track paths. Select the Track History icon from the toolbar to open it. The options include New Track, Track User List and Clear Tracks.

New Track
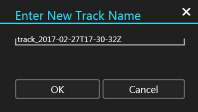
Select New Track to create a new track. Accept the default track name or enter a custom name, then select OK to begin the new track. GPS location data will be recorded as breadcrumbs in the track database.
Select the Clear Tracks option to remove any tracks from the map.
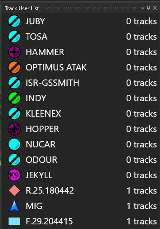
Track User List
Select Track User List to view track information that has been previously saved locally or on a TAK Server. The Track User List displays information about tracks stored on the local device. Select the user of interest, even if no local tracks are available. Selecting them makes the server search function available. Any local tracks that are available will appear.
Select any track to display it and pan the map to its location. Multiple tracks can be visible on the map at the same time, and visibility can be toggled on and off by checking/unchecking the View box.
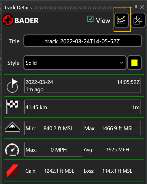
Select Details to modify the name, color or style of a selected track, as well as to view additional information. Access the Elevation Profile Tool from the Details menu by selecting the Elevation icon in the upper right.
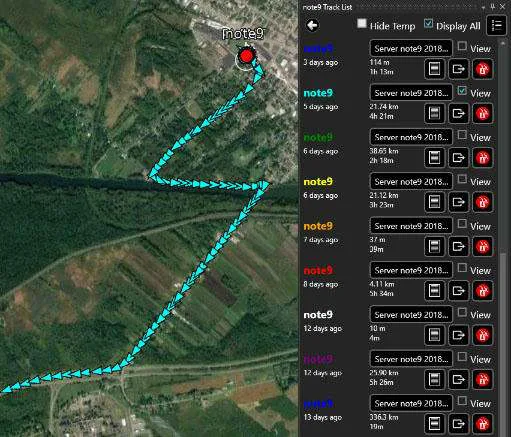
Remove tracks from the list and map by clicking the Delete icon present in the Track List. Tracks can be exported as a KML, KMZ or CSV file, or to TAK Server by selecting the Export icon found in the Track List or within Track Details. Exported tracks are exported to the C:\Users\username\Documents\WinTAK\Export\ folder. Select Done to dismiss the Export feature or Send to send the track to another TAK user.
Retrieving tracks from a TAK Server
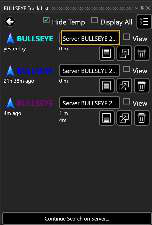
To retrieve track information from a TAK Server, ensure a TAK Server connection is available, select a desired user from the list, then select Continue Search on Server. Select the desired TAK Server from the drop-down list, use the slider to specify the desired time range, ensure Online is chosen, then select Search.
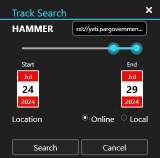
The tool will search the track database for matches against the specified time range and user callsign. The matching tracks are displayed as a list and are navigated in the same manner as local tracks. Tracks pulled from a TAK Server are identified as such in the track name.
Track Replay
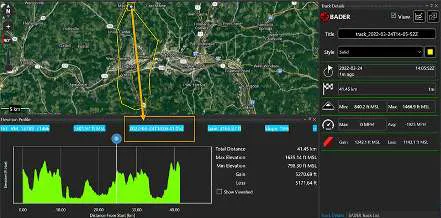
Tracks can be reviewed by selecting the Elevation icon from the track details page.
Selecting the elevation view opens the track history window. Dragging the blue dot displays the elevation profile of the track, as well as the date/time group for each point along the track.
Source
WinTAK Software User Manual, Version 5.7, 26 March 2026, pages 68–70.