Manual Wi-Fi Connection
Overview
Both Watchtower enrollment paths — Knox Direct Enrollment and manual QR code enrollment — normally connect the device to Wi-Fi automatically the moment you scan the enrollment QR code. If that doesn't happen for your device, use these steps to connect manually, then go back to whichever enrollment guide you came from and retry the scan.
Steps
- On the Welcome screen, tap Start.
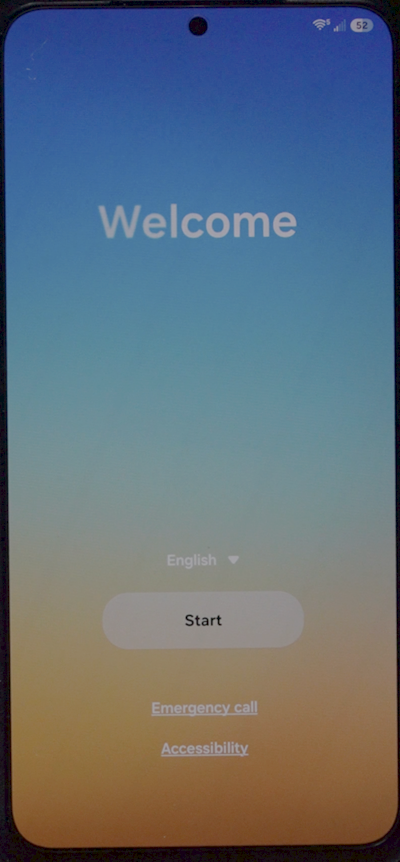
- On For your review, check I agree to the Samsung Terms and Conditions and I agree to the Samsung Privacy Policy (the diagnostic data checkbox is optional), then tap Agree.
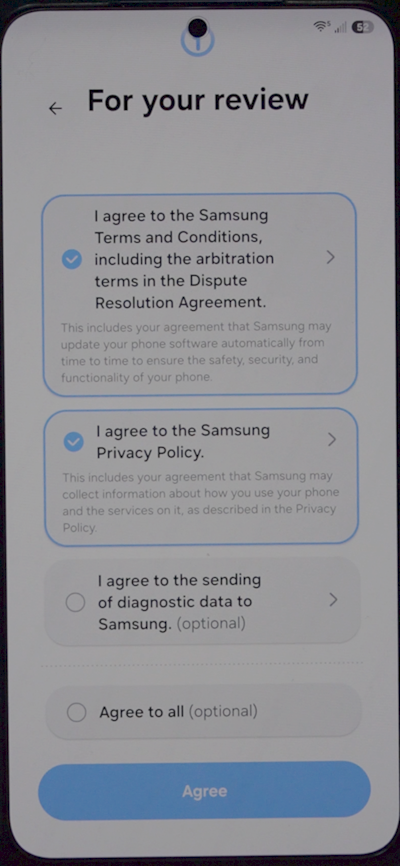
- On Easy setup with another device, tap Set up manually rather than transferring from a Galaxy/Android device or an iPhone/iPad.
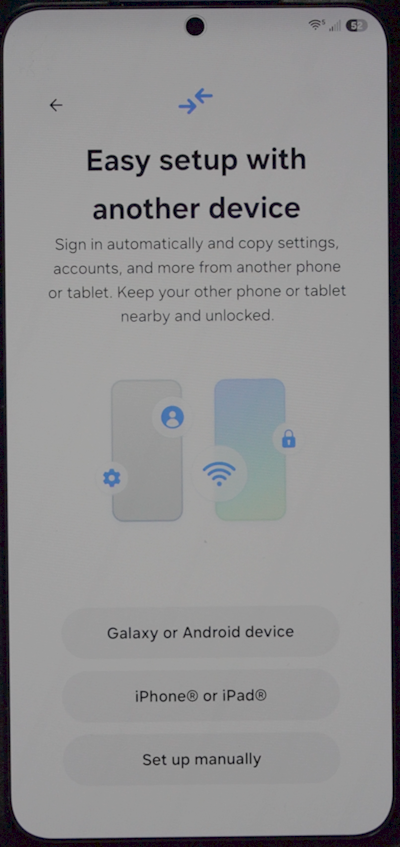
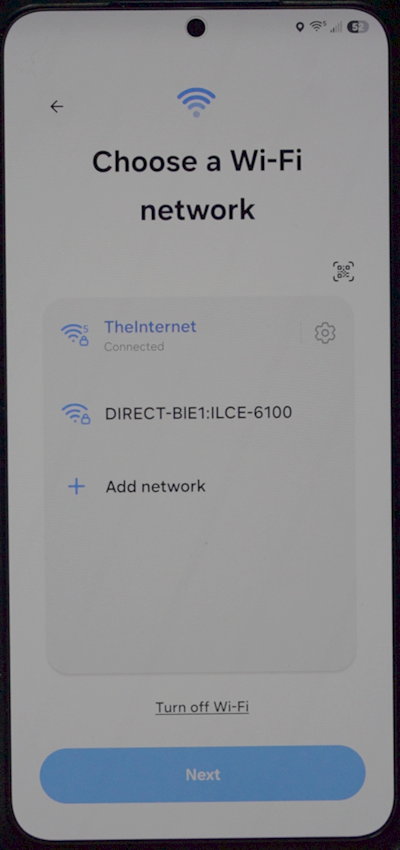
- On Choose a Wi-Fi network, tap Add network.
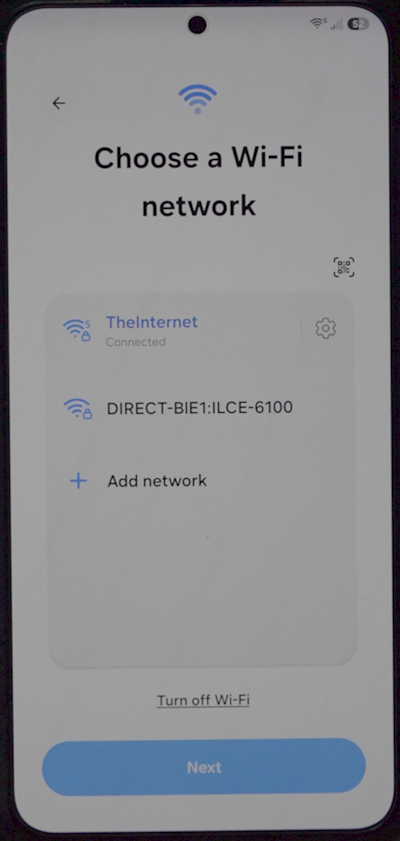
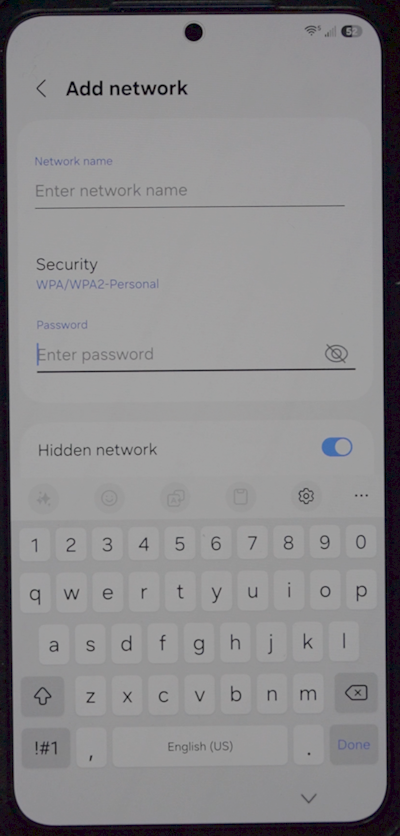
- Enter your network's name and password, then tap Done.
- Once the network shows Connected, back out of Wi-Fi settings entirely to return to the Welcome screen.
With Wi-Fi connected, go back to whichever enrollment guide you started from and retry the QR scan from its first step.